In many of Buture’s vacuum cleaners, you’ll find two types of HEPA filters: the inflow HEPA and the outflow HEPA. These filters are crucial for maintaining the vacuum’s efficiency and ensuring the air quality in your home or workplace. Understanding the roles of these filters, how they differ, and how to maintain them can help you get the most out of your vacuum cleaner and keep your environment clean and healthy.
What HEPA Filters Are Used For
HEPA filters, short for High-Efficiency Particulate Air filters, are essential components in air purification systems, particularly in vacuum cleaners. These filters are designed to capture and remove 99.97% of airborne particles as small as 0.1 microns. This makes HEPA filters incredibly effective at trapping dust, pollen, pet dander, mold spores, and even certain bacteria and viruses. Their ability to improve air quality makes them crucial in various settings, including hospitals, schools, offices, and homes, especially for those with allergies or respiratory conditions.
How Often Should You Change the HEPA Filter?
The frequency with which you should change your HEPA filter depends on several factors:
- Frequent Use: If you vacuum daily or cover large areas, such as an entire house or office space, you'll need to replace the inflow HEPA filter every two to three months. Regular, heavy use leads to quicker accumulation of dust and debris.
- Occasional Use: If you only vacuum a few times a week or clean smaller spaces, like a single room or apartment, you might only need to change the filter every six months.
Your Environment
- Dusty or Allergen-Prone Areas: If you’re vacuuming in environments with lots of dust, pet hair, or allergens (like homes with pets, or areas near construction), your filter will fill up faster and need more frequent changes—every two to three months.
- Cleaner Environments: In less dusty areas, such as homes without pets or well-sealed indoor spaces, the filter might last longer, needing replacement only every six to twelve months.
Air Quality in Your Home
- Poor Air Quality: If your home has poor air quality—perhaps due to recent renovations, living near a busy road, or seasonal allergens—you should change the filter more often, around every three months.
- Good Air Quality: In homes with better air quality, where there isn’t much dust or pollution, you may only need to replace the filter every six months to a year.
How to Know When It’s Time to Change Your HEPA Filter
When your vacuum cleaner starts to lose effectiveness or shows signs of dust leakage, and you've already addressed common issues, it might be time to focus on the HEPA filter. Here’s how you can tell:
Reduced Suction Power
Notice that your vacuum isn't picking up dirt as efficiently? Ensure that the battery is fully charged, the metal filter is clean, and the dust cup isn’t full. If these are all in good condition, the likely culprit is a clogged HEPA filter, which is restricting airflow and reducing suction.
Dust Leakage
Experiencing dust escaping from the vacuum? After confirming that the dust cup is correctly installed and the metal filter is clean, consider the HEPA filter. A full or damaged filter may no longer be trapping particles effectively, causing dust to leak out. This indicates that a replacement is needed.
Dirty or Clogged Filter
During routine checks, you might find the HEPA filter is visibly dirty or packed with dust. Even after maintaining other parts of the vacuum, a filter in this state should be replaced to keep your vacuum functioning well.
Unpleasant Odors
Detecting musty or strange odors while vacuuming? If you've already cleaned out other components and the smell persists, it’s likely that the HEPA filter is saturated and holding onto those odors. Swapping it out for a new one should resolve the issue.
By monitoring these signs and maintaining other parts of your vacuum, you can easily recognize when it’s time to replace the HEPA filter, ensuring your vacuum runs smoothly and your air stays clean.
How to Change the HEPA Filter
Steps to Change the HEPA Filter:
- Turn Off and Unplug the Vacuum Cleaner: Before beginning any maintenance, make sure the vacuum cleaner is turned off and unplugged from the power source.
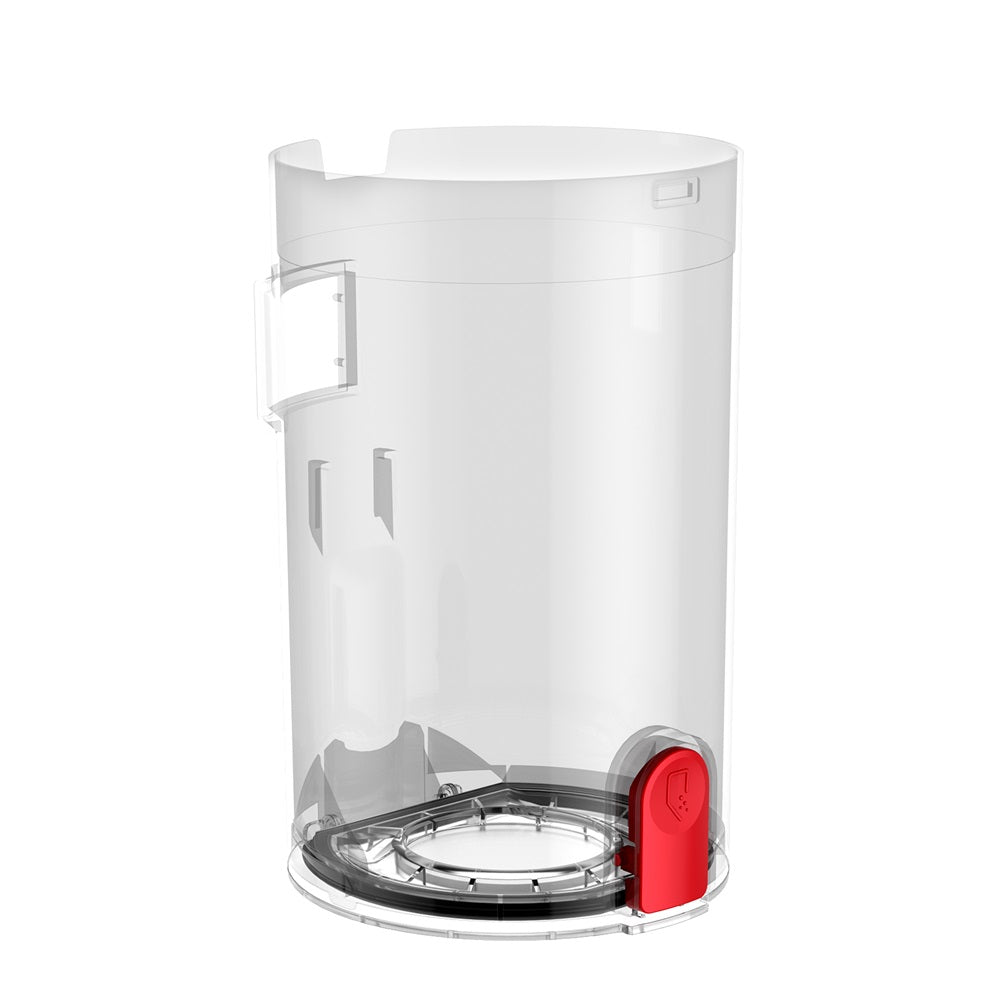
- Access the Dust Cup: Press the release button on the dust cup to open the lid and empty out any debris or trash. Press the dust cup release button on the main body of the vacuum. Grasp the bottom of the dust cup and remove it from the vacuum cleaner.
- Remove the HEPA Filter: Locate the HEPA filter inside the dust cup. Pull the HEPA filter out carefully. If necessary, open the bottom cover of the dust cup, rotate the stainless steel filter, and remove it to access the HEPA filter.
- Clean or Replace the HEPA Filter: If you’re reusing the filter, gently brush off any dust using a cleaning brush. If the filter is too dirty or damaged, replace it with a new one. Note: The stainless steel filter and dust cup can be washed with water and should be thoroughly dried for 24 hours before reassembly.
- Reinstall the HEPA Filter: Insert the cleaned or new HEPA filter back into its place inside the dust cup. Reattach the stainless steel filter by aligning it with the grooves in the dust cup and rotating it tightly.
- Reassemble the Dust Cup: Align the convex part of the handle with the concave part of the dust cup and insert it. Press the release button on the dust cup to securely close it back onto the vacuum cleaner.
- Test the Vacuum Cleaner: Plug the vacuum cleaner back in and turn it on to ensure that it is working properly with the newly installed HEPA filter.
FAQ
1. What's the Difference Between Inflow HEPA and Outflow HEPA Filters?
Inflow HEPA Filter
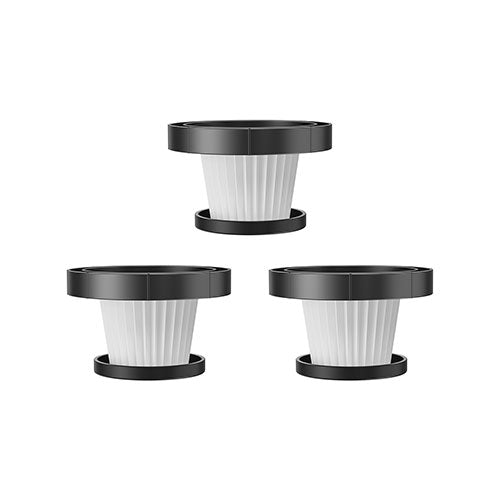
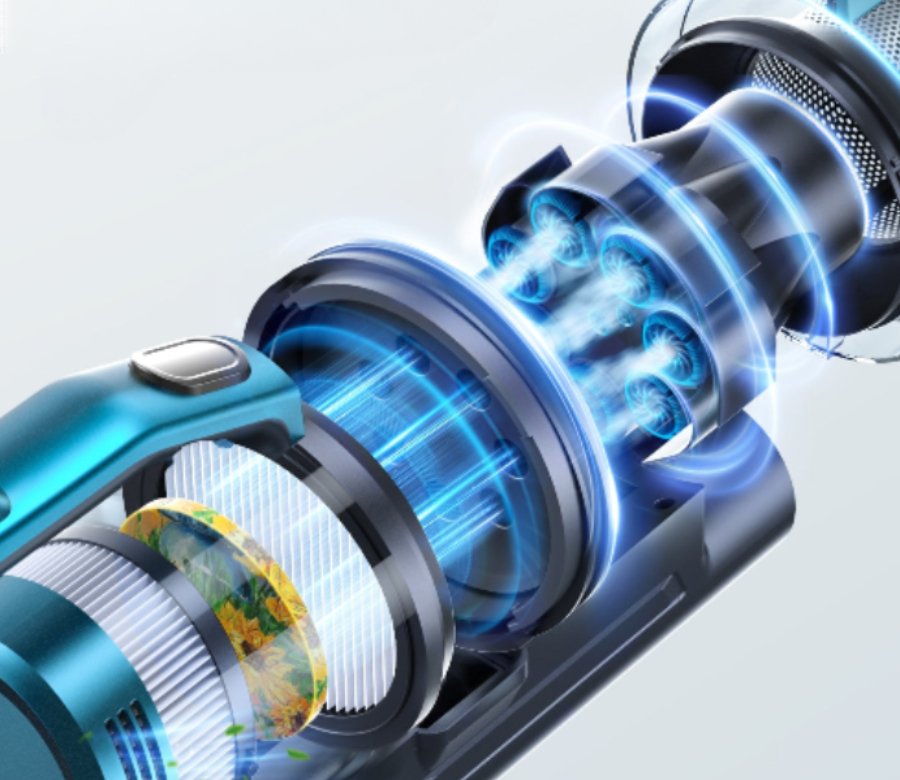
Positioned inside the dust cup, the inflow HEPA filter comes into play after the stainless steel filter, capturing finer particles that the initial filter might miss as they enter the vacuum. Due to its crucial role in trapping dust and debris, this filter tends to accumulate a significant amount of contaminants. As a result, it typically needs to be replaced every two to three months to ensure that the vacuum maintains optimal performance.
Outflow HEPA Filter
Typically installed at the top or rear of the vacuum’s main body, the outflow HEPA filter is responsible for filtering the air before it is released back into the environment. This ensures that the vacuum doesn't expel harmful particles back into the room. Unlike the inflow HEPA filter, the outflow HEPA filter usually doesn’t need frequent replacement. It should only be replaced when there's a noticeable decline in the vacuum’s performance or when you observe visible dust accumulation on the filter.
2. Can I Wash My HEPA Filter?
Washing HEPA filters is generally not recommended, as it can damage the delicate fibers and reduce their effectiveness. To maintain the filter, it’s best to gently clean it with a soft brush, removing any dust buildup.
3. How Should I Clean My Dust Bin?
- Turn Off and Unplug the Vacuum.
- Remove the Dust Bin by pressing the release button, empty it, and detach it from the vacuum.
- Rinse the Dust Bin and Stainless Steel Filter with water. Let them dry for 24 hours.
- Reassemble the Dust Bin by securing the filter and attaching it back to the vacuum.
- Test the Vacuum to ensure it's functioning properly.
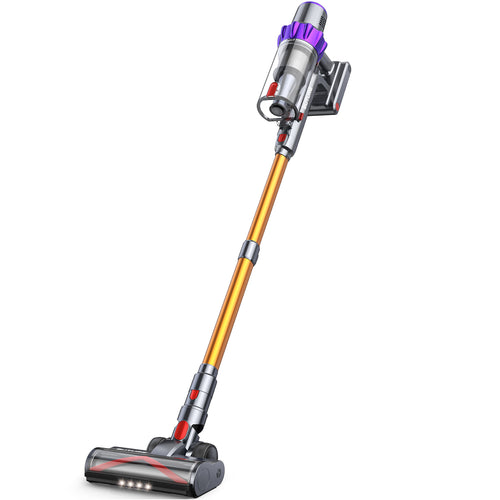
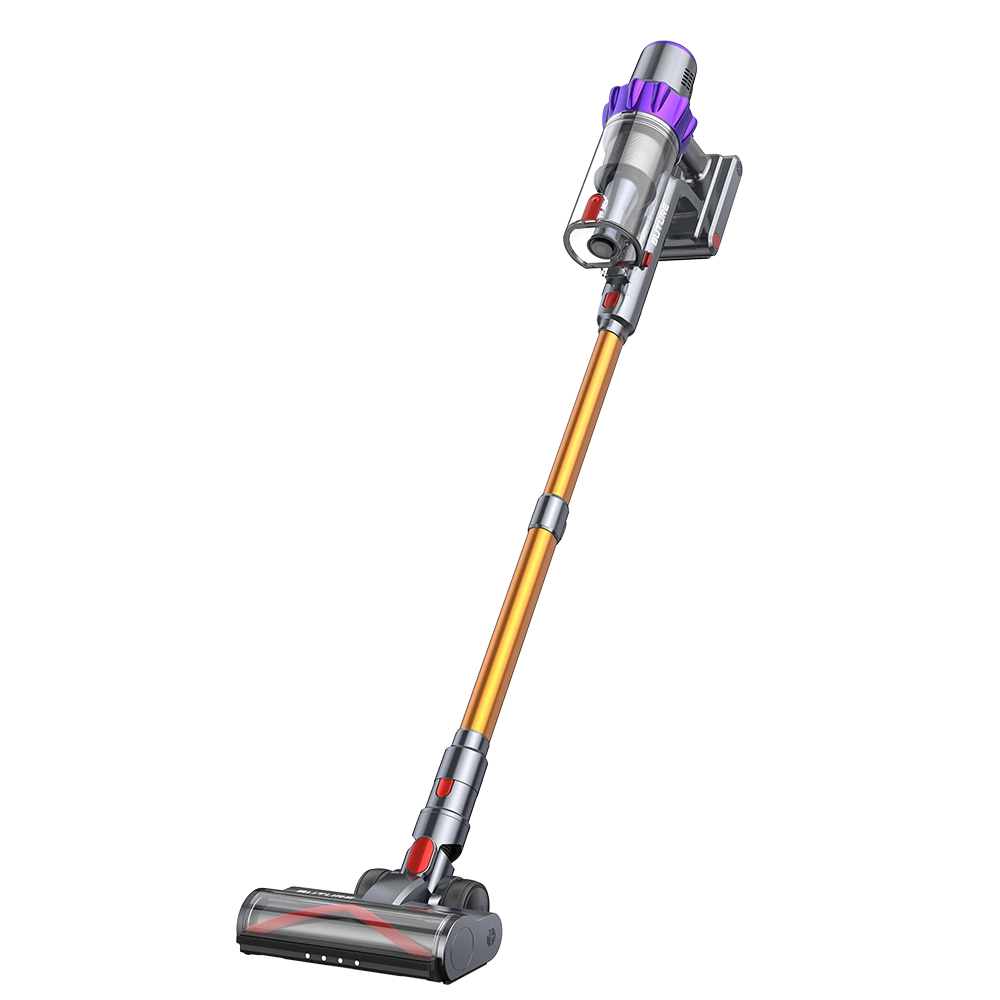
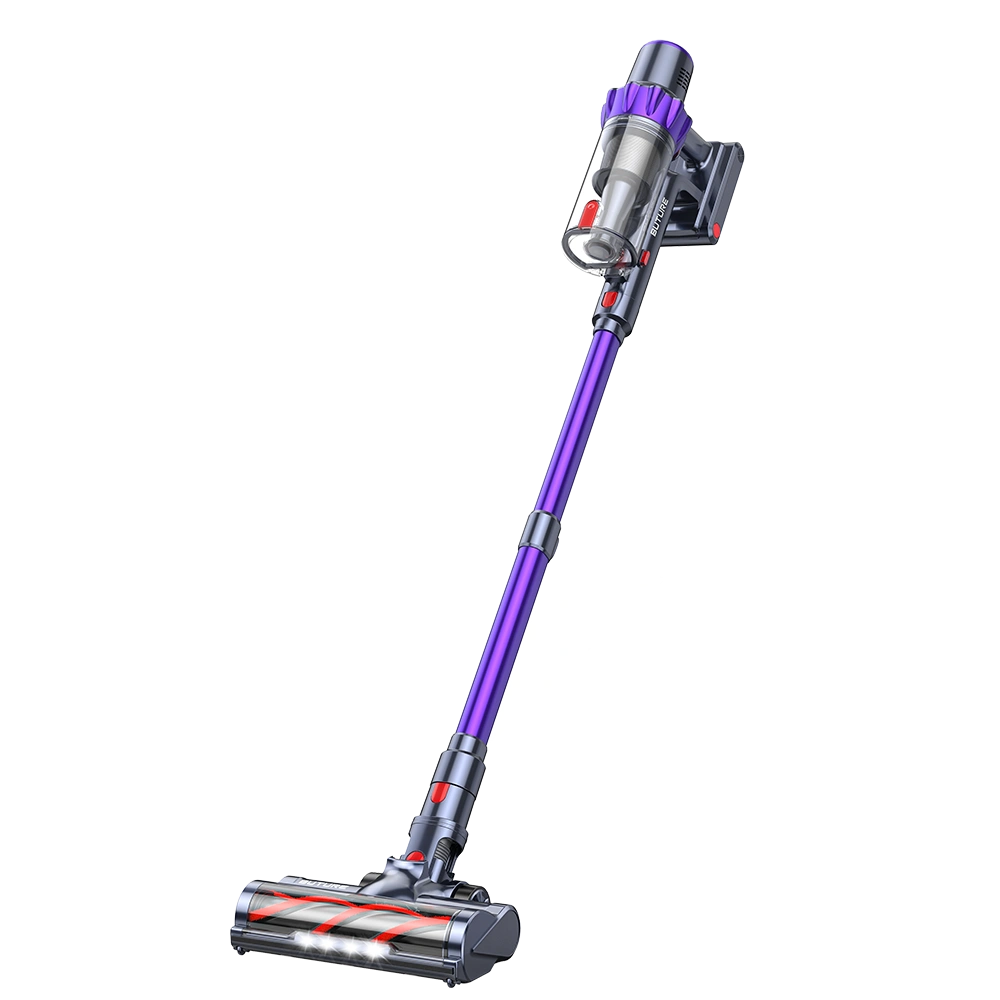
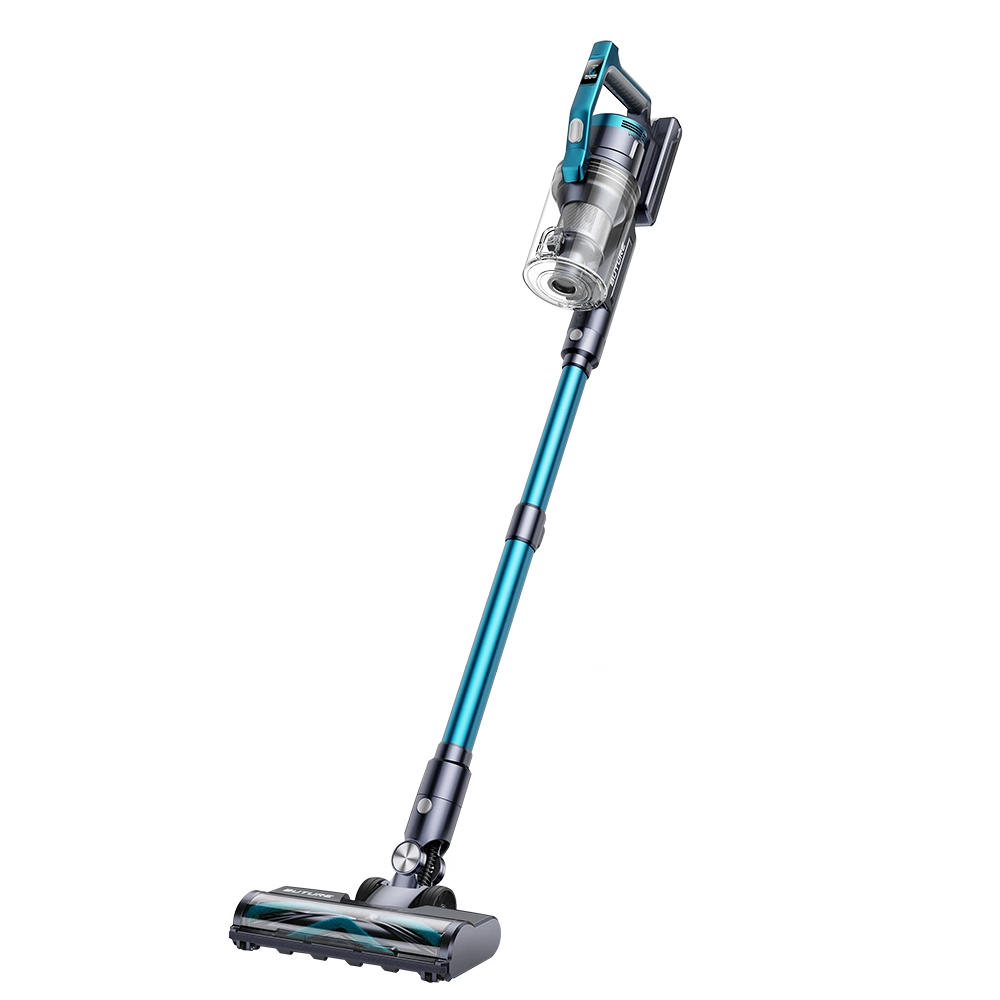
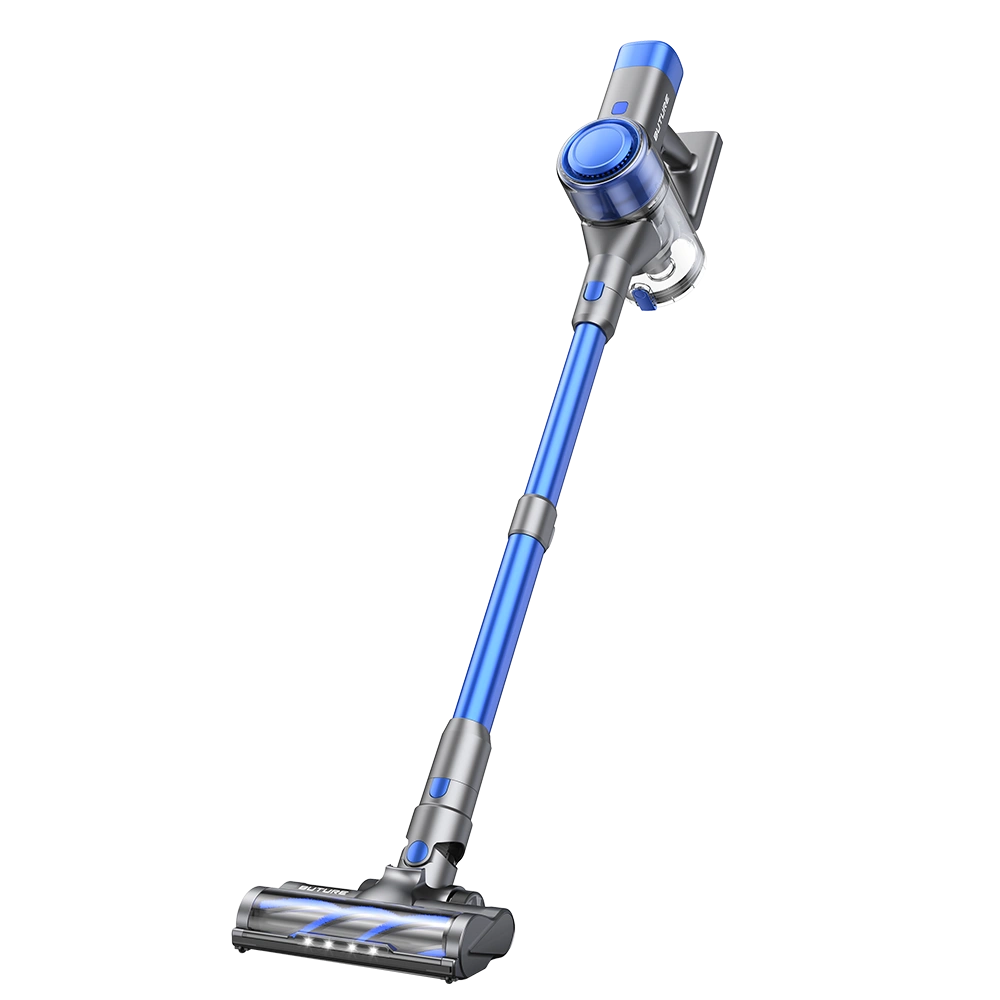
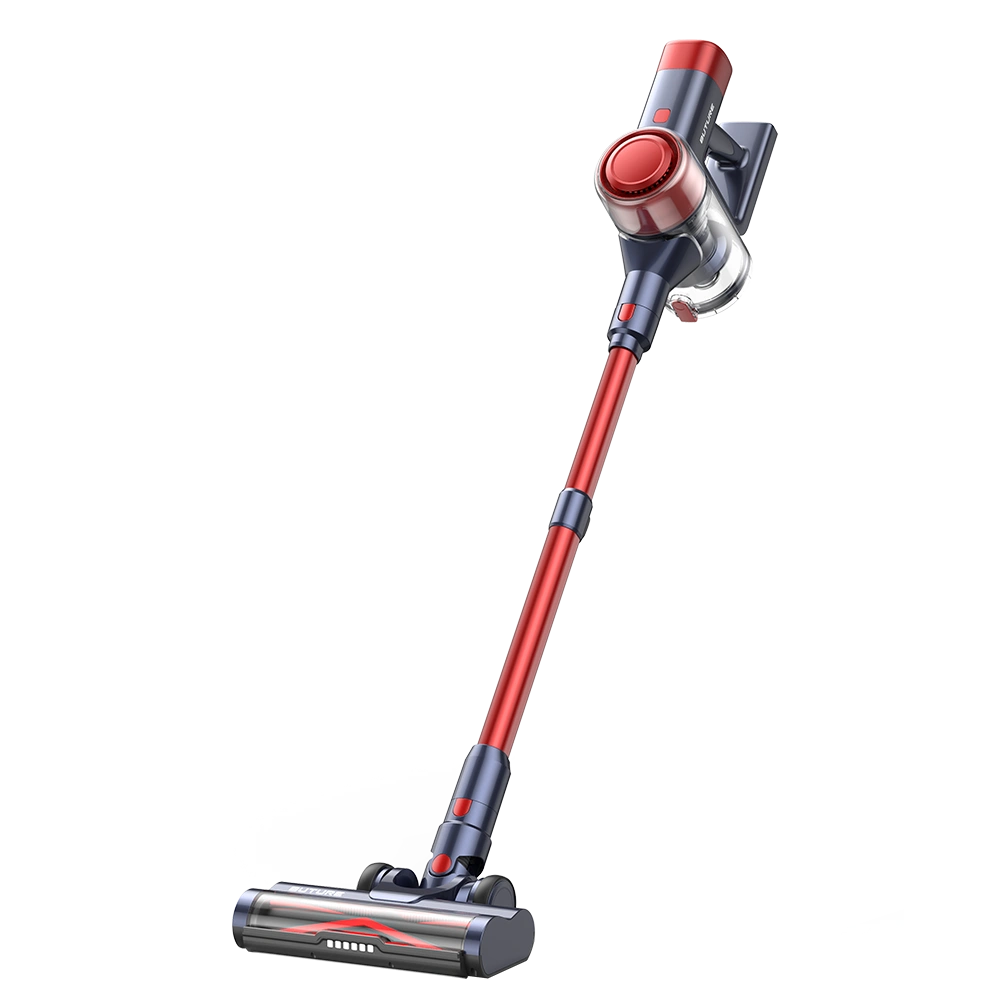
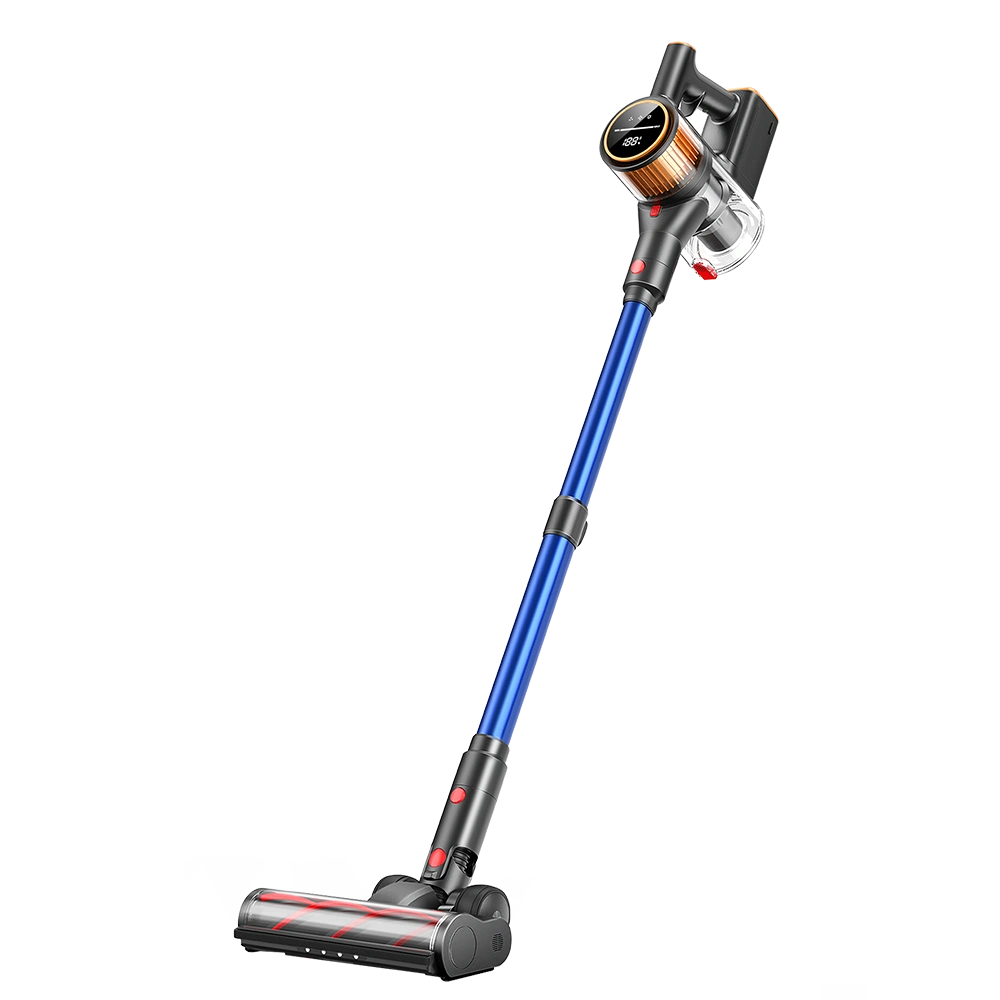
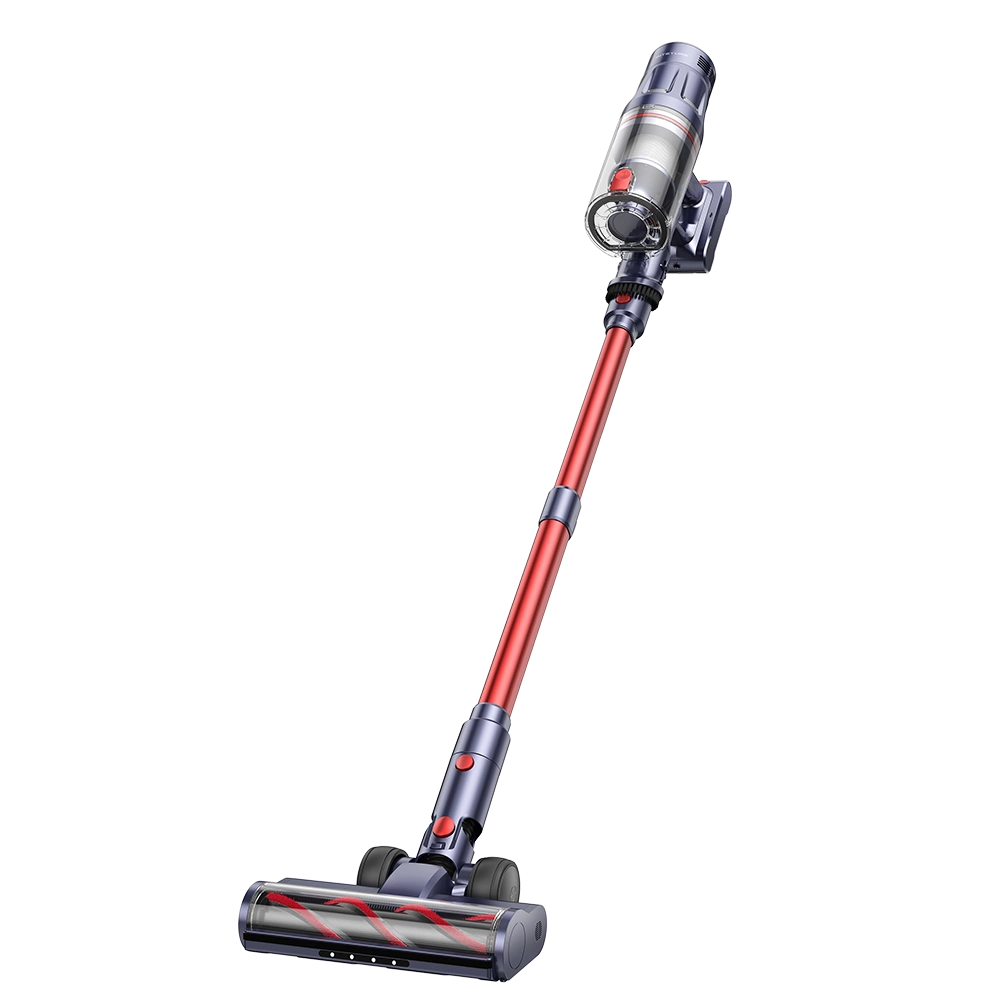
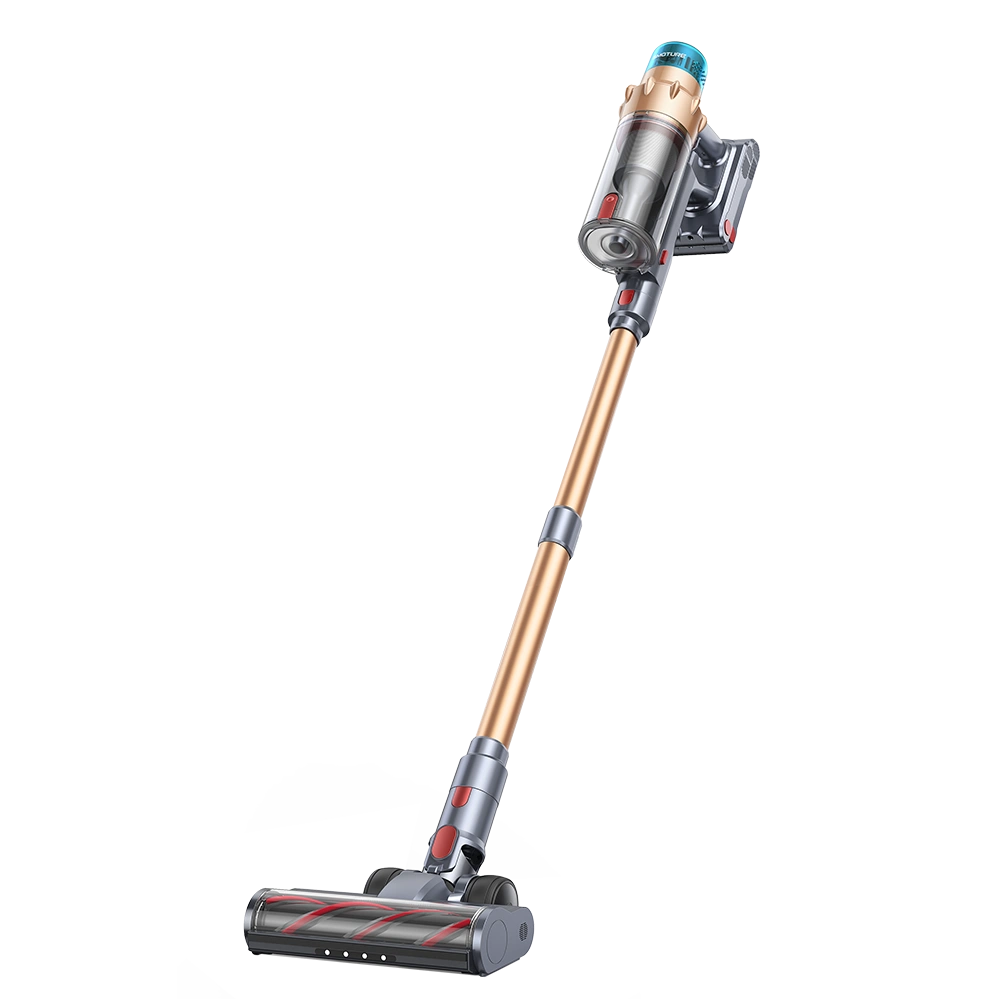
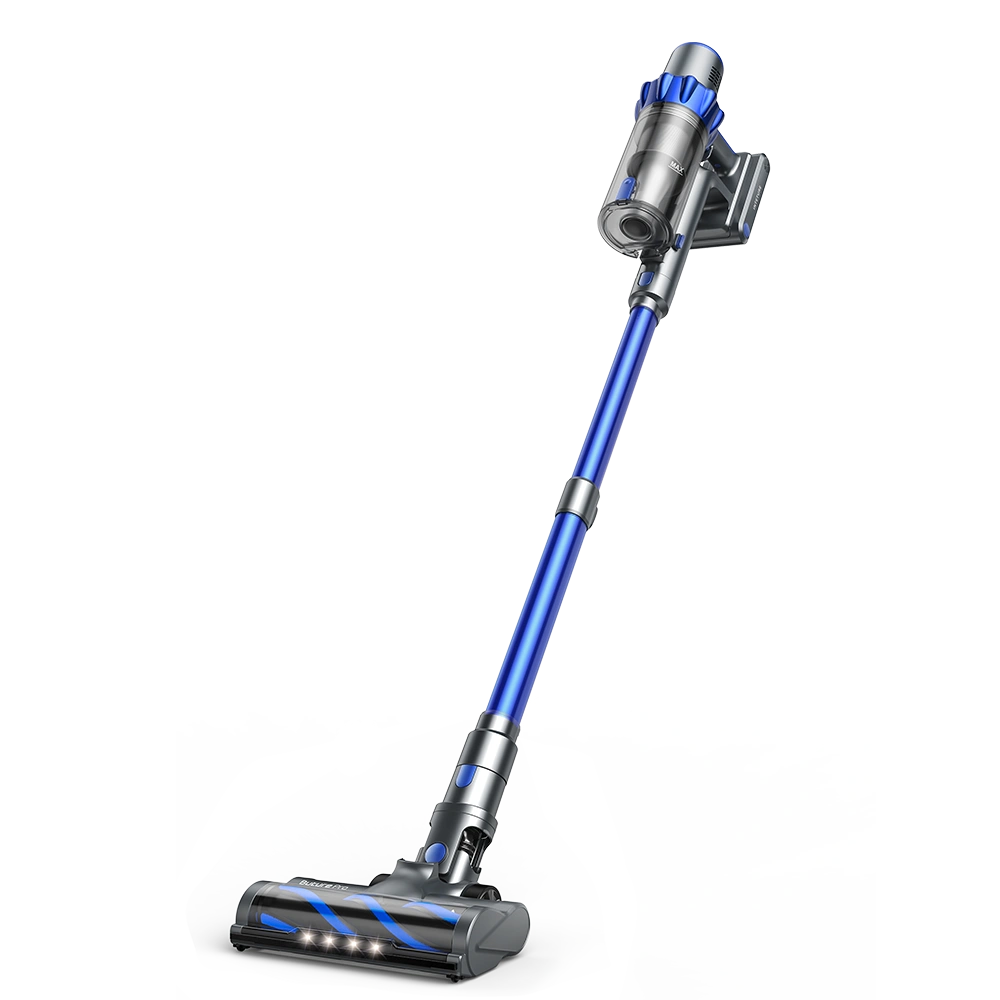
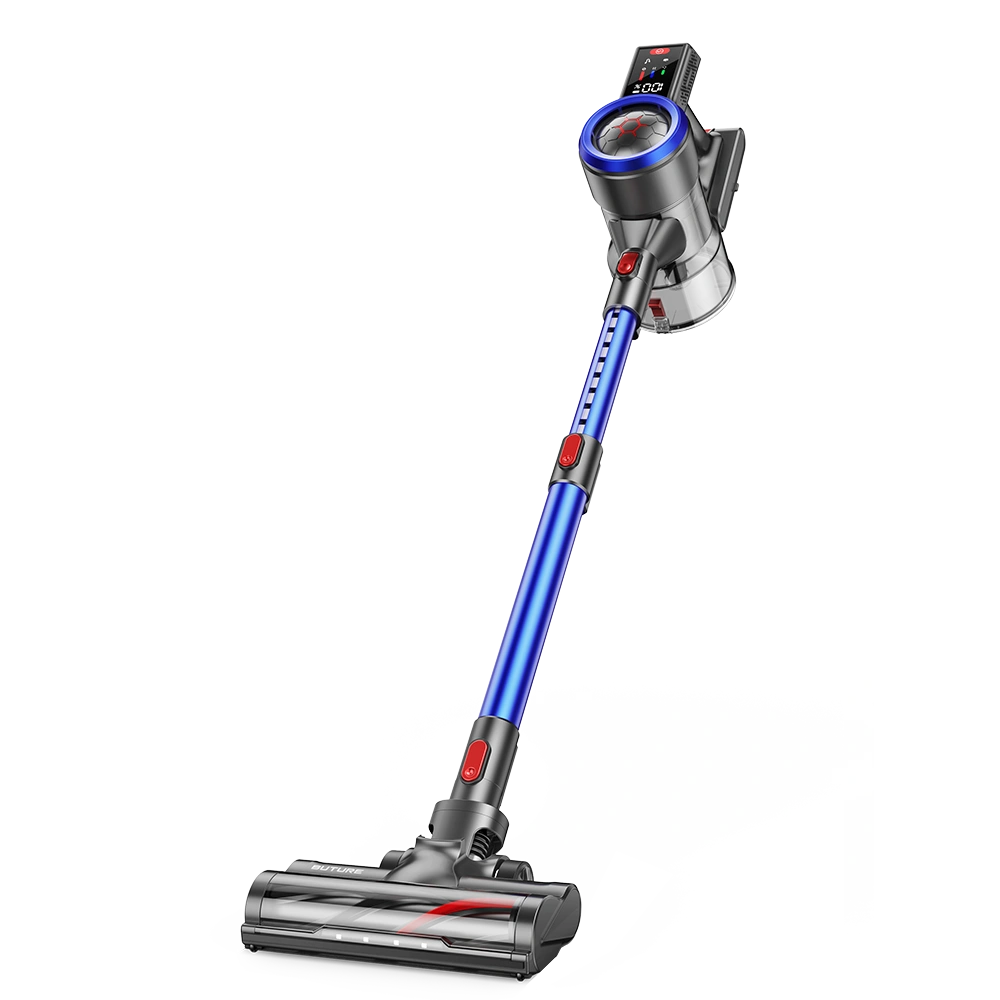
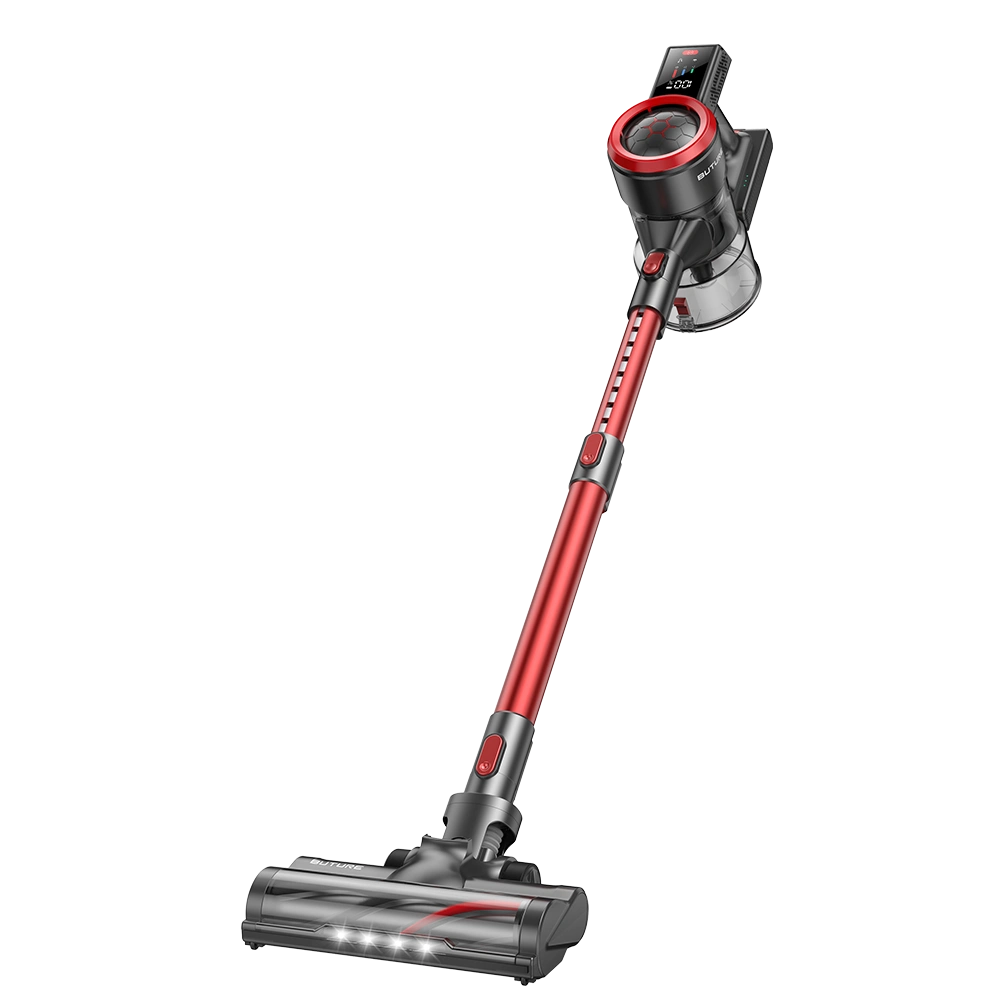
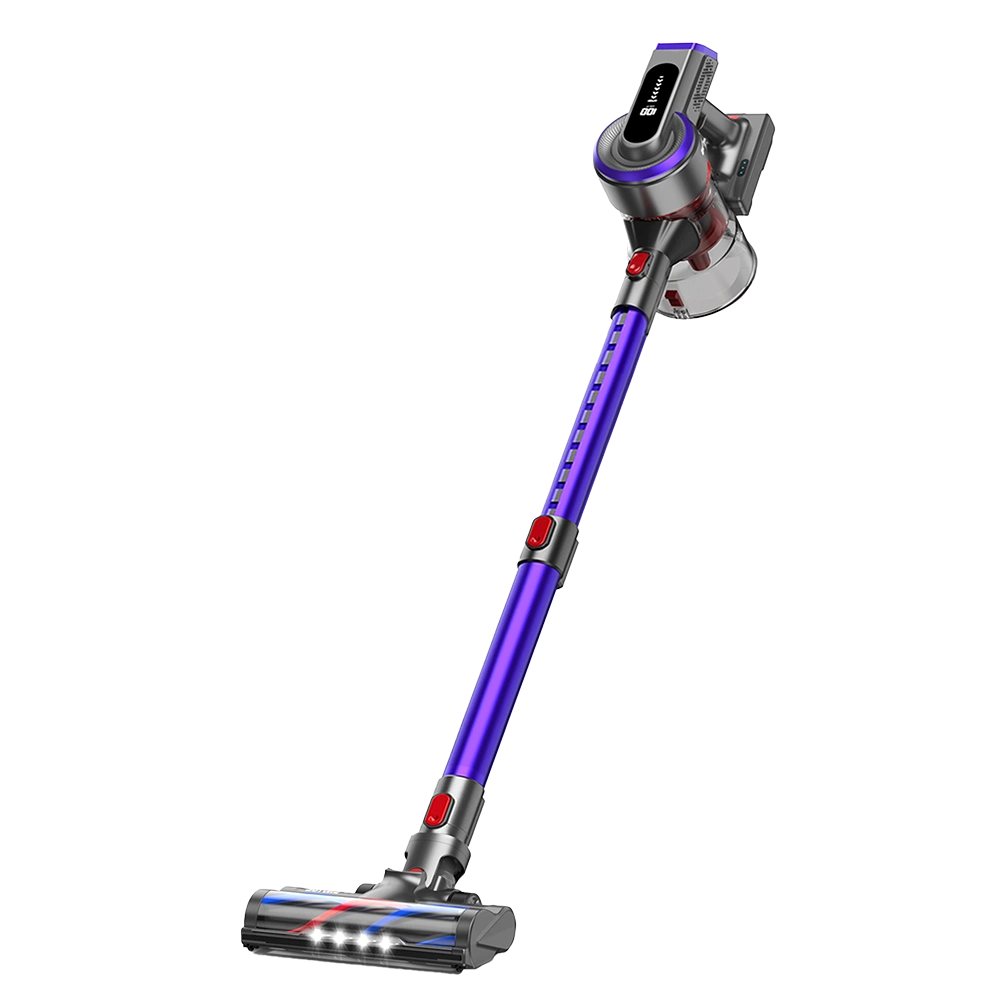
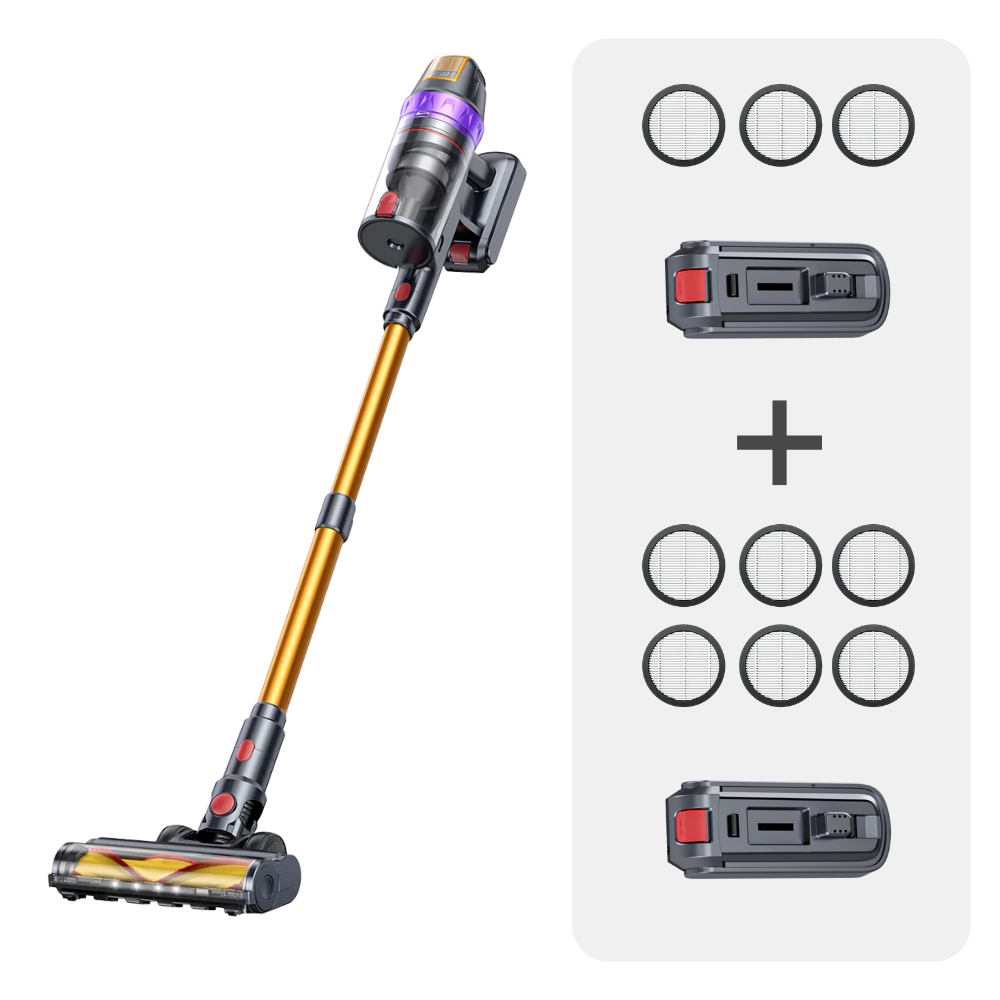
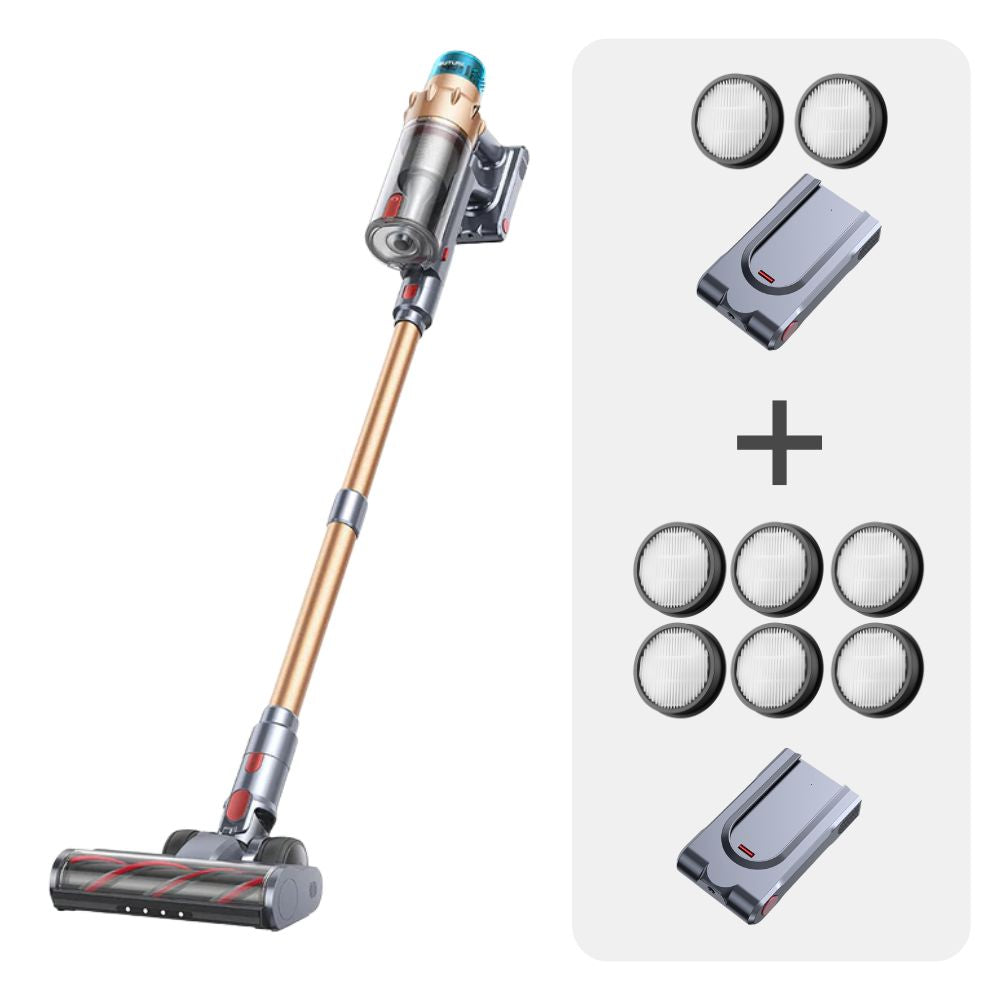
Buture VC80 Cordless Vacuum
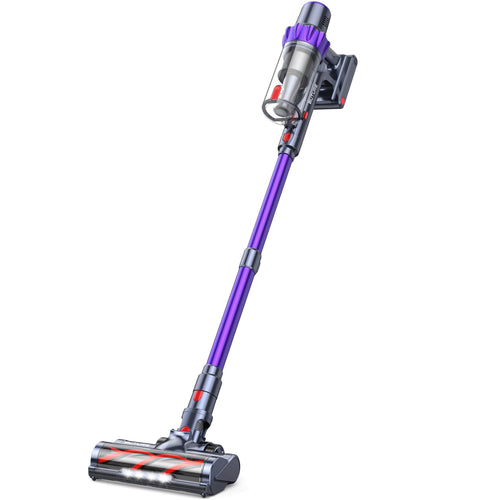
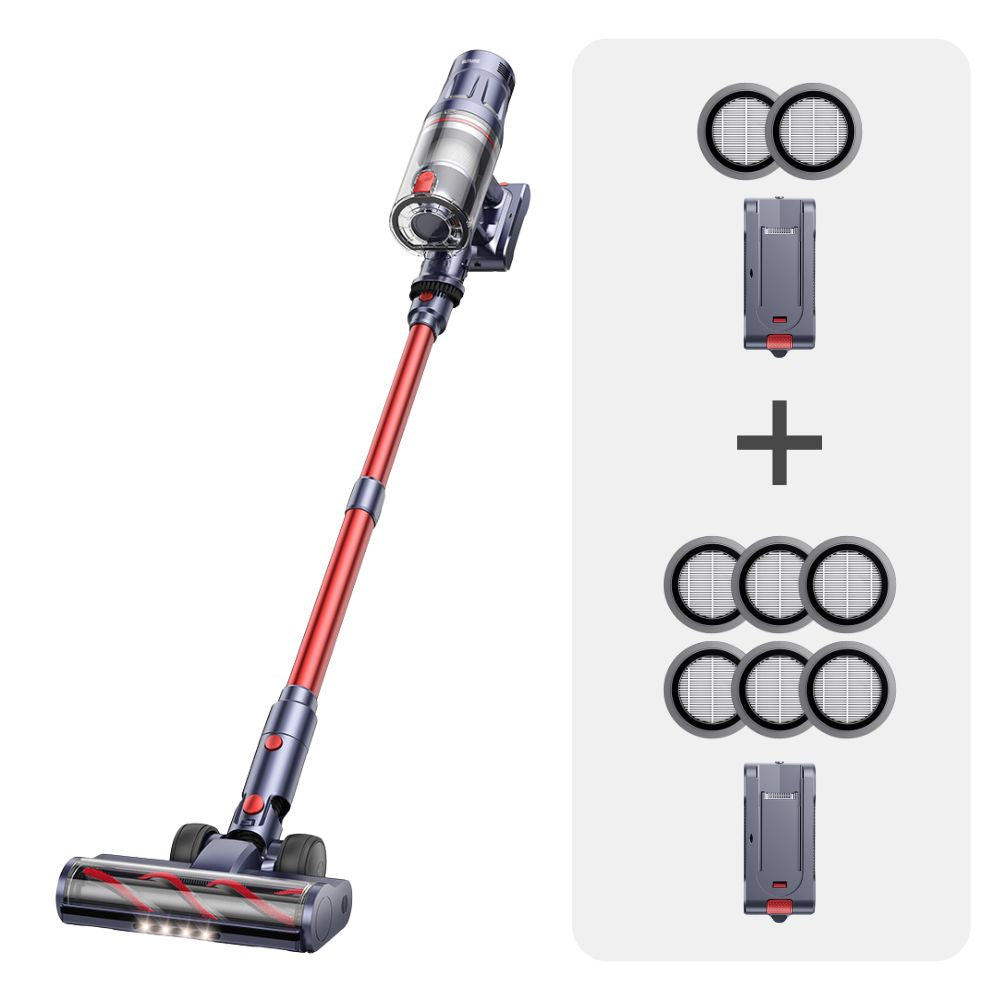
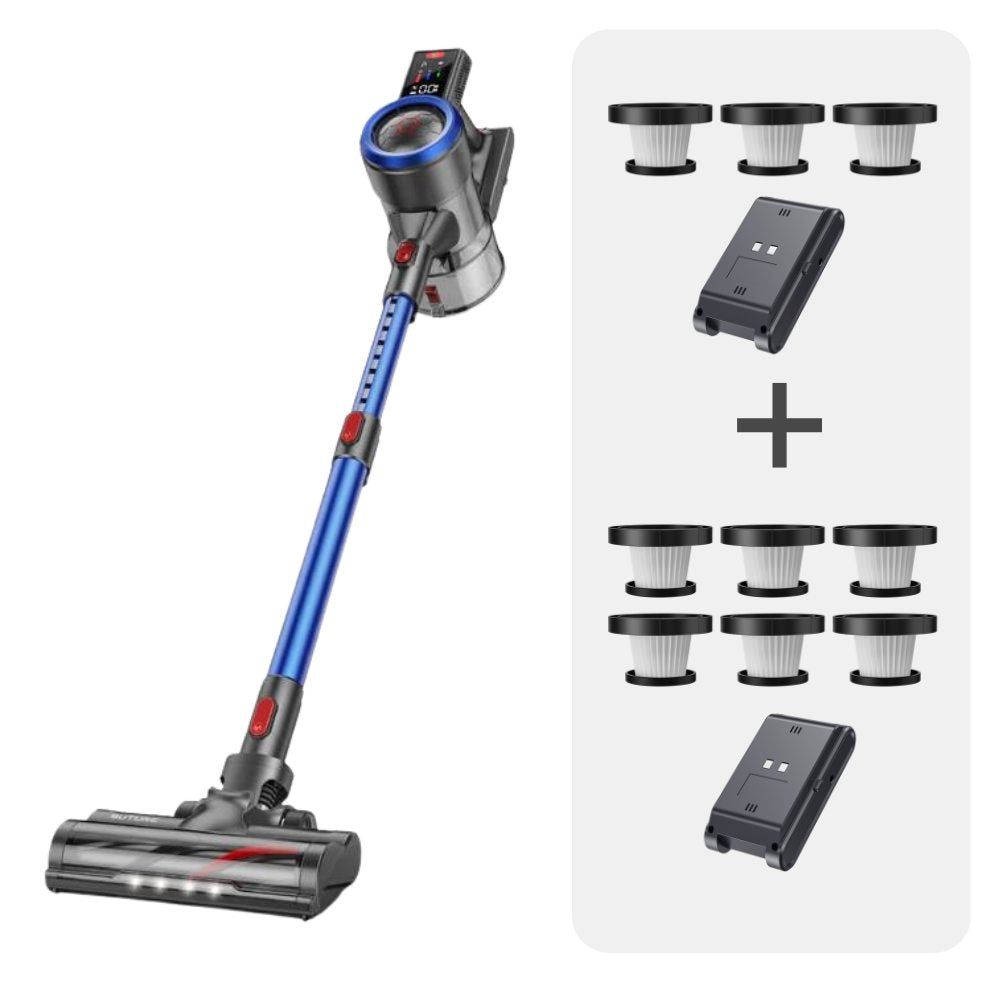
Buture VC70 Cordless Vacuum
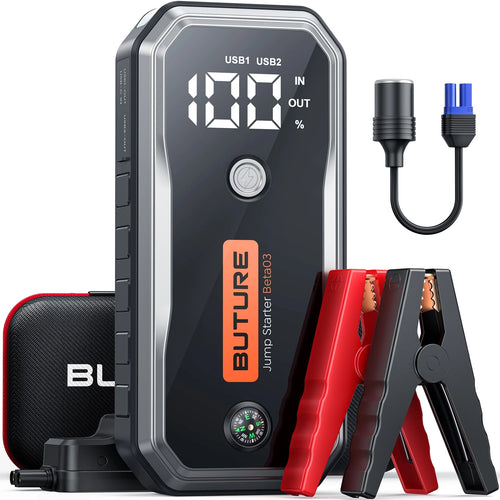
![Buture Beta01 Smart Jump Starter 3500A with Air Compressor [4-in-1]](http://ibuture.com/cdn/shop/files/buture-beta01-car-jump-starter.jpg?v=1748248782&width=500)
【Hot Sale】Buture Beta01 Smart Jump Starter 3500A with Air Compressor【4-in-1】









Leave a comment
This site is protected by hCaptcha and the hCaptcha Privacy Policy and Terms of Service apply.