How can we help?
Placing an order is easy and secure! Simply navigate to the product you wish to purchase, click the "Add to Cart" button, and then proceed to checkout. You'll be prompted to enter your shipping information and select a payment method. After reviewing your order details, click "Place Order" to complete the transaction.
We aim to process orders as quickly as possible. If you need to change or cancel your order, please contact us within 24 hours of placing the order. While we cannot guarantee that we'll be able to accommodate your request, we'll do our best to make the necessary adjustments.
Our products are equipped with an internal protective film in addition to outer packaging. Inspect the package upon received the order. If you received the wrong or incomplete order, please contact us at official@ibuture.com immediately, attaching the clear photos of the item(s) received and the pacakage with visible details (showing shipping label). To protect your rights, it is highly recommended to record a complete unboxing video and check the items against the packing list.
If you are not satisfied with your purchase from Buture, you can request a return within 30 days of receiving the item. All returned items must be in unworn, unused, and unwashed condition with the original tags attached. To initiate a return, please email us directly, and we will assist you with the process.
Buyer Responsibility: If the return is due to non-quality related reasons, such as personal preference changes, dissatisfaction, or the wrong items ordered, the buyer is responsible for the return shipping costs.
Buture Responsibility: If the return is due to a proven defect, Buture will cover the return shipping costs.
We do not offer direct exchanges. If you want a different product, return your purchase within 30 days for a full refund. Products must be unused and in original condition. Place a new order for the desired item.
If purchased during a promotion, you can reorder under the same promotion within 30 days of the original purchase. For further assistance, please contact us.
If your return is approved, a full refund will be issued. You can expect the refund to be visible in your account within 30 days of our receipt of the returned item. Please note that campaigns or holidays may delay the processing.
We accept PayPal, Visa, Mastercard, American Express, Discover, Diners Club, Shop Pay, Apple Pay, Google Pay, Meta Pay, Bancontact, and iDEAL.
To use a coupon code, follow these steps.
Add the desired items to your shopping cart. Proceed to checkout. Enter your coupon code in the "Coupon Code" field. Click "Apply" to apply the discount to your order. Complete the checkout process.
Yes, you will receive a payment confirmation email after placing your order.
Within 1-2 business days of placing your order, you will receive a tracking number via email from our courier partner FedEx or UPS containing your package’s tracking information .If you place your order during the weekend or a public holiday, it will be processed the next working day.If your tracking number isn’t updating or working at all, please reach out to us as soon as you can via official@ibuture.com. We can give you the inside info. Additionally, there is a "Order Tracking" page in our Help Center.
We offer the following shipping methods based on your location.
United States: FEDEX, UPS, USPS
France: GLS
Italy: BRT
Spain: SEUR
No. Shipping to PO boxes is not available.
We offer free express shipping on our products. However, if the delivery address is in a remote location, additional shipping costs at standard market rates may apply.
If your package status shows as delivered but you have not received it, please follow these steps: Verify the shipping address provided for the order. Check with neighbors or other members of your household to see if they received the package on your behalf. Look for a delivery attempt notice, which might indicate that the package was left in a secure location or with a neighbor. If you still cannot locate the package, please contact us at official@ibuture.com with your order details, and we will assist you in resolving the issue.
After your order is paid, our warehouse requires 1-3 days to process it. Once processed, you will receive a shipment notification email with a tracking number.
Estimated Shipping Time:
Orders are usually delivered within 3-7 business days, while accessories may take 7-20 business days.
Delivery may be delayed due to external factors such as extreme weather conditions, technical failures, or customs inspection.
During promotional campaigns, delivery times may take longer than usual.
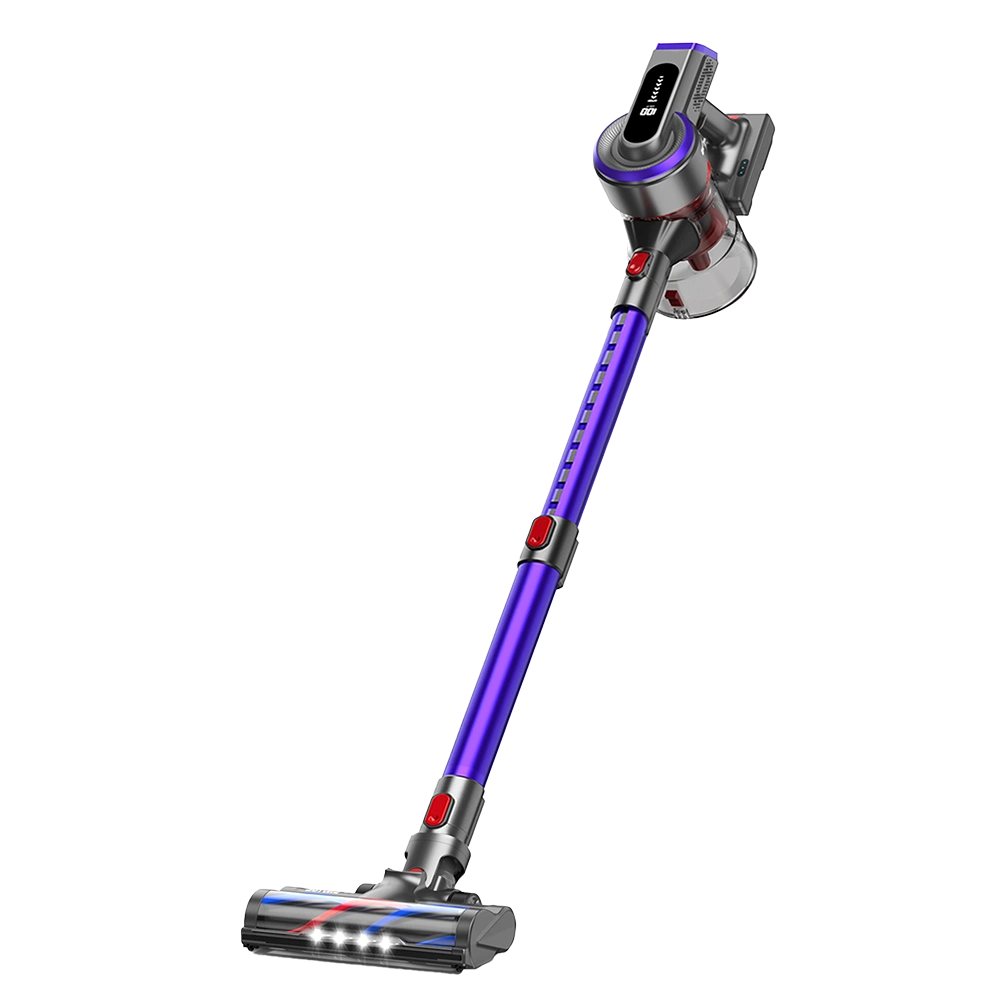
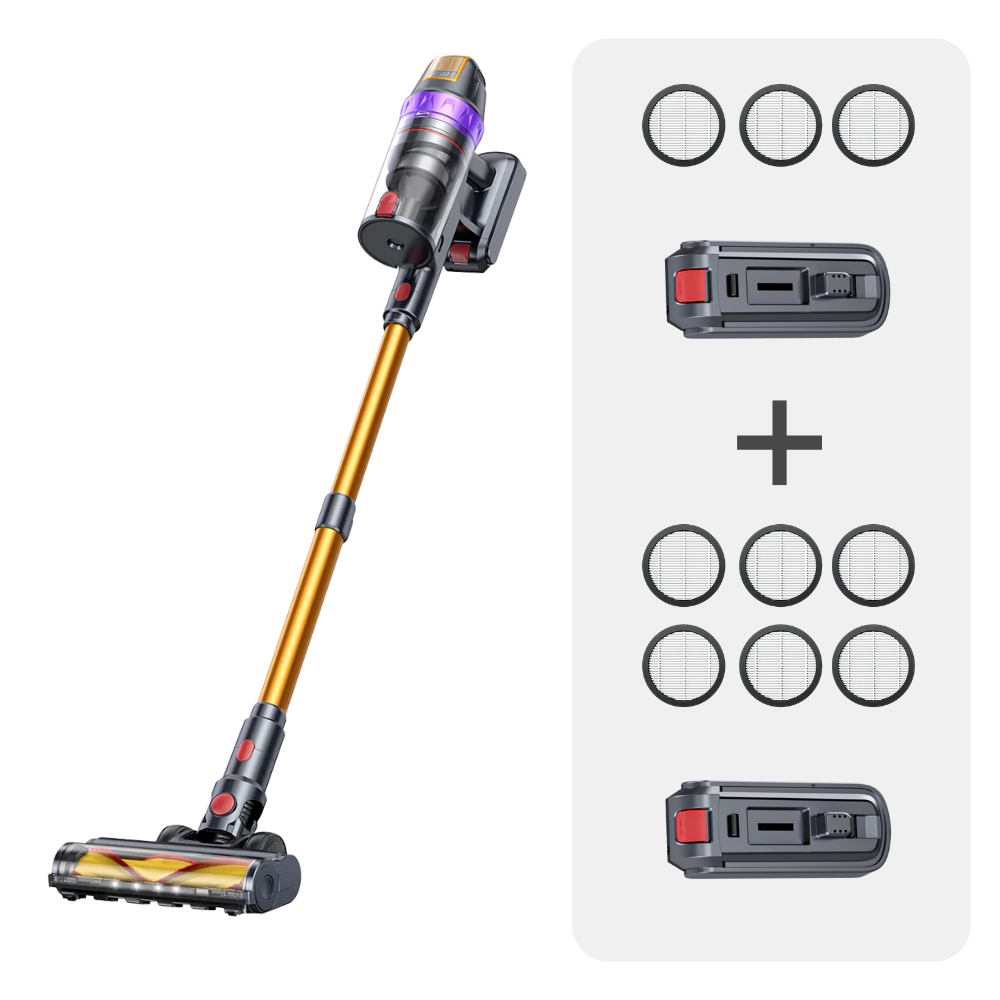
First, please connect the telescopic tube by inserting it into the main body and ensuring it is secure. Press the release button to remove the tube if needed. Next, please attach the desired brush head to the end of the telescopic tube or directly to the main body, ensuring it clicks securely into place. With more details, please refer to the user manual.
Regular maintenance can ensure the vacuum cleaner' s longevity. This includes cleaning the filter and brush, emptying the dust cup after each use, and checking for any blockages in the suction path from time to time. Additionally, ensure the battery is fully charged and stored properly.
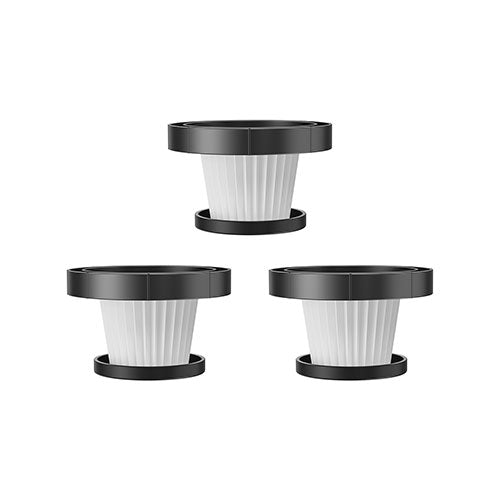
The Inlet HEPA filter, which is typically installed inside the dust cup, should be changed every two to six months according to your using frequency. Regular replacement ensures optimal performance and efficient filtration of dust and particles.
The Outlet HEPA filter, installed either on the top or rear part of the vacuum's main body (as seen in models like JR400 and JR700), generally does not need to be replaced frequently. It only requires replacement if there is visible dust inside the main unit, indicating that the filter is no longer functioning effectively.
Please note that you need to clean the filters if the vacuum stops picking up dirt.
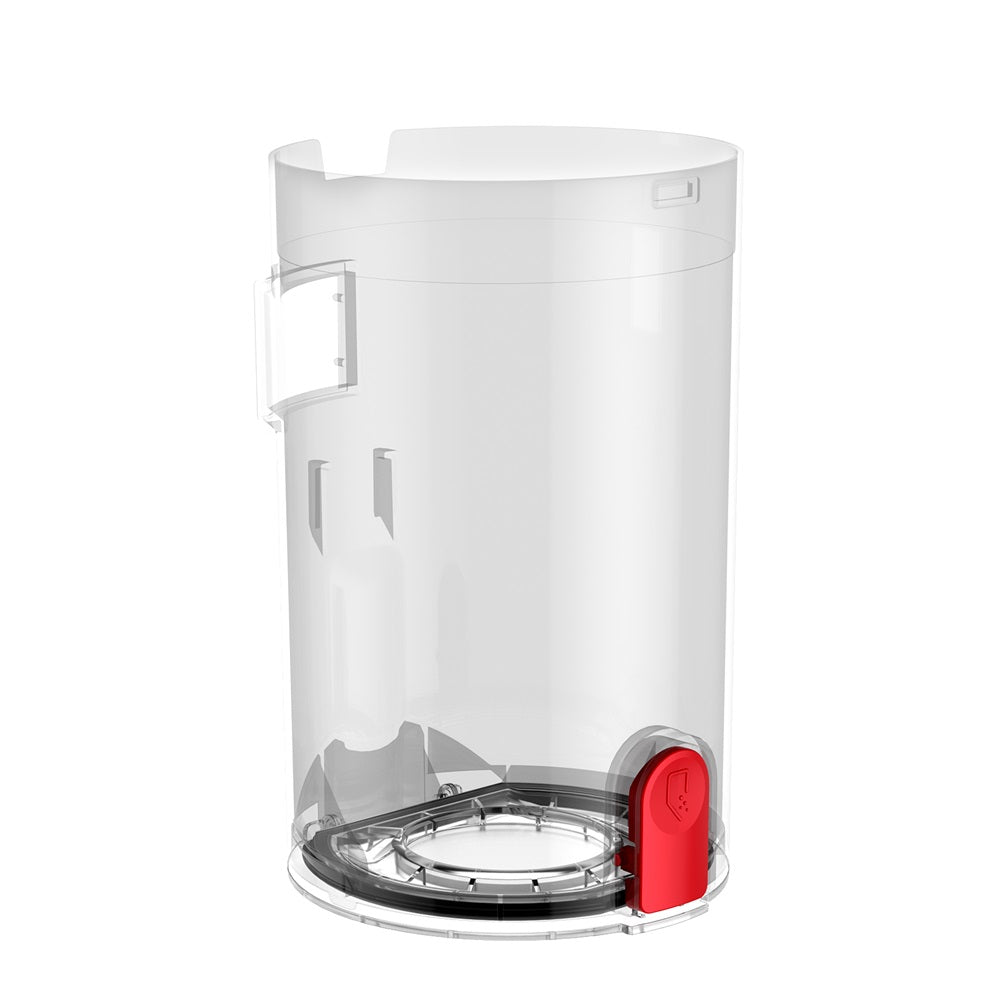
Press the release button on the dust cup to open the lid and empty the trash. Press the dust cup release button on the main body, grasp the bottom of the dust cup, and remove it. Pull out the HEPA filter, then open the bottom cover of the dust cup and take out the stainless steel filter if your hoover has. Sweep off the dust on the HEPA filter with the cleaning brush. Wash the stainless steel filter and dust cup with water. Let them dry naturally for 24 hours before reinstalling.
Warning: Do not use cleaning equipment like washing machines or drying equipment (dryer, iron, etc.) to clean or dry the filters. Use natural drying only.
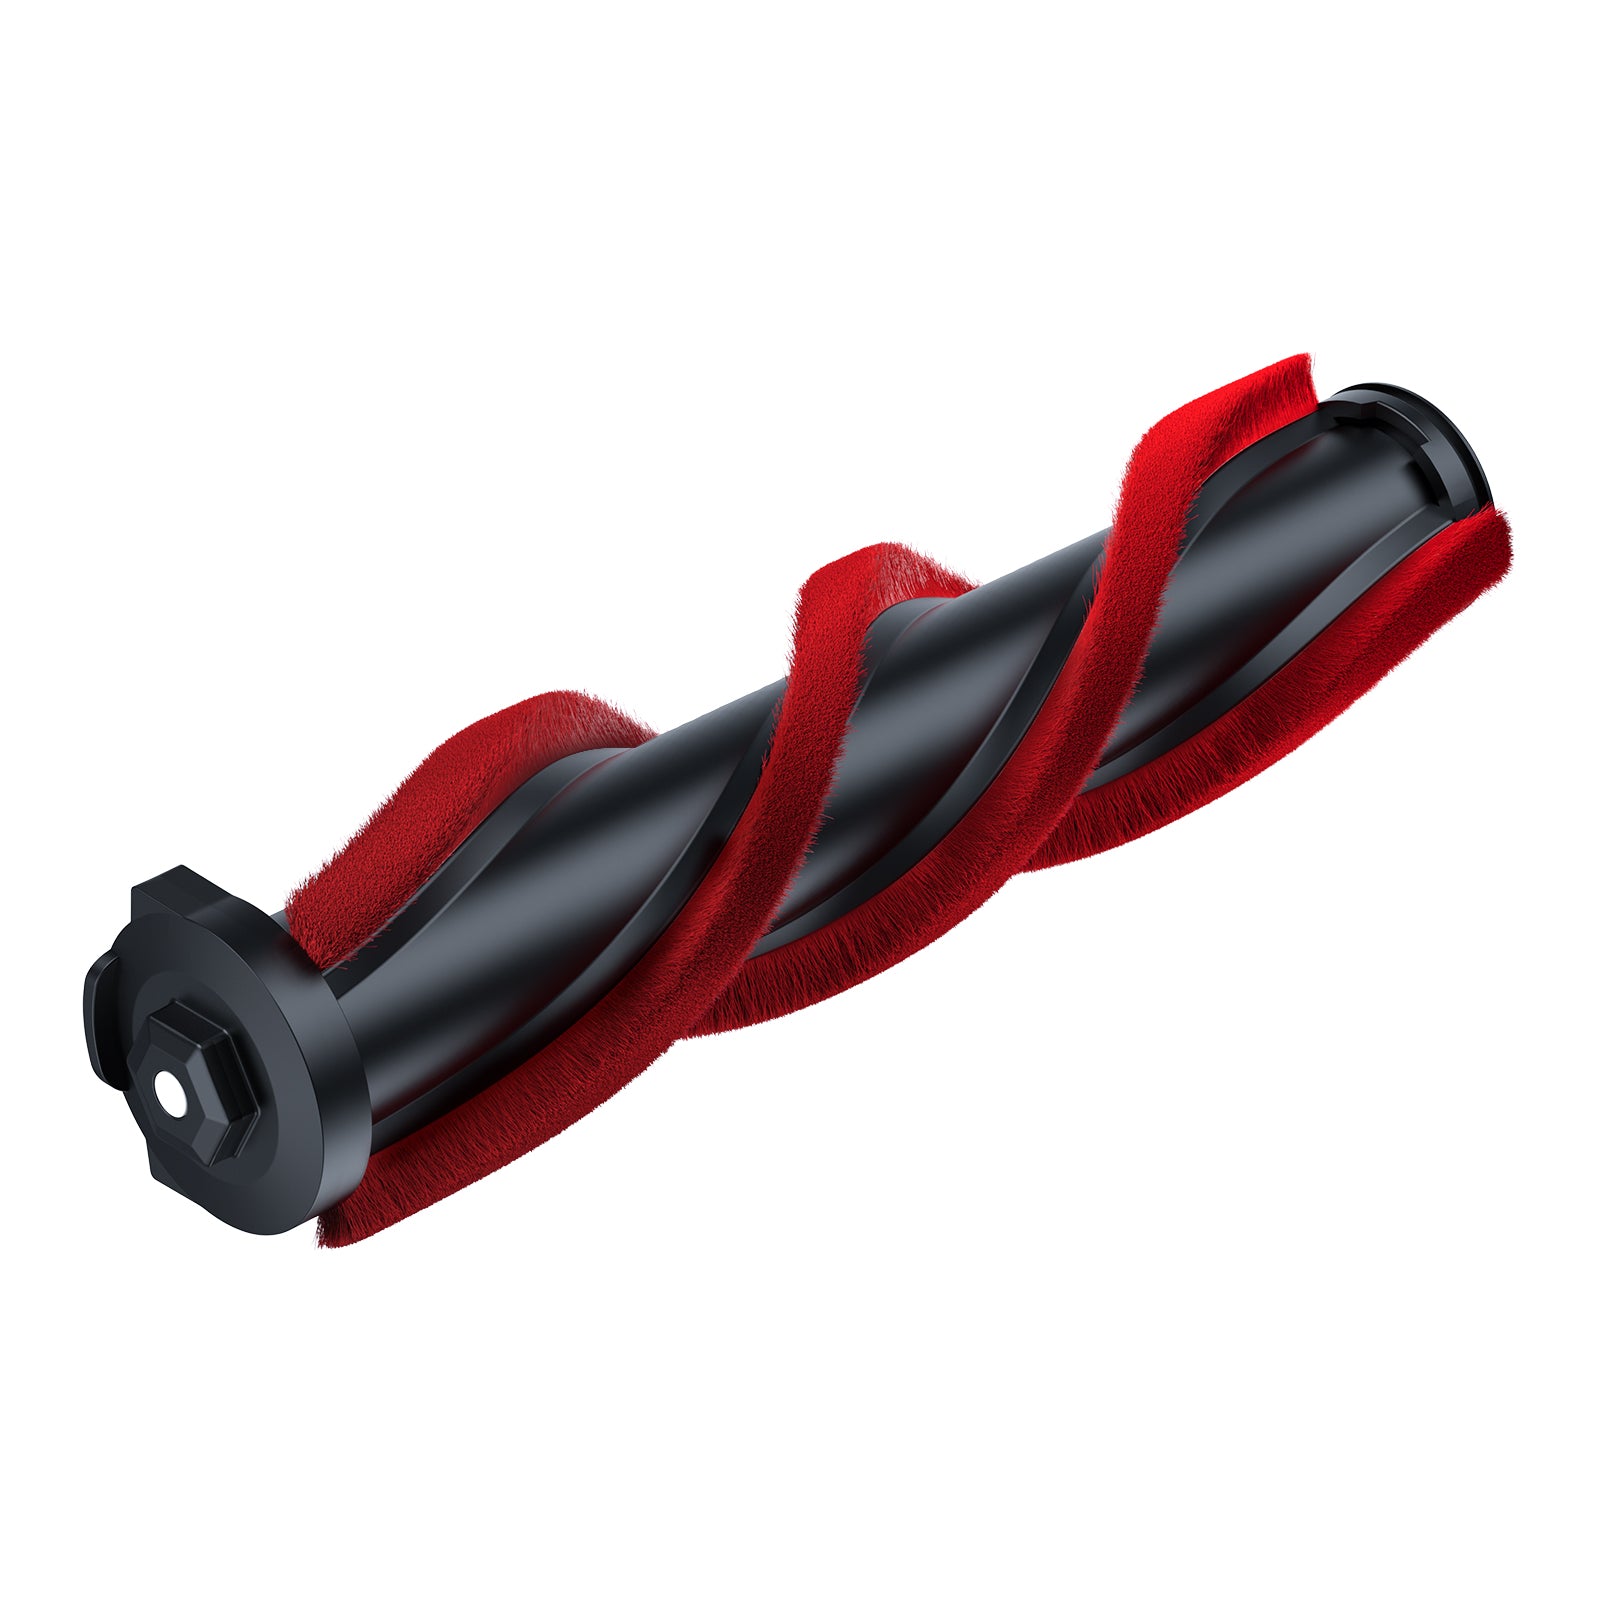
Step 1. Ensure the appliance is disconnected from the charger before removing the roller brush. Be careful not to press the ON button.
Step 2. Push up the switch to the "unlock" side, remove the plug, and take out the roller brush.
Step 3. Use the small cleaning brush to sweep away the debris on the roller. Use the knife side to remove tangled hairs from the brush roller.
Step 4. Clean the roller brush with or without water. Ensure it is completely dry before reinstalling.
Step 5. Push in gently to install the roller brush, ensuring it is securely in place.
Certainly, there's a button on the main body for you to one-press empty the dust cup. Additionally, the dust cup is washable.
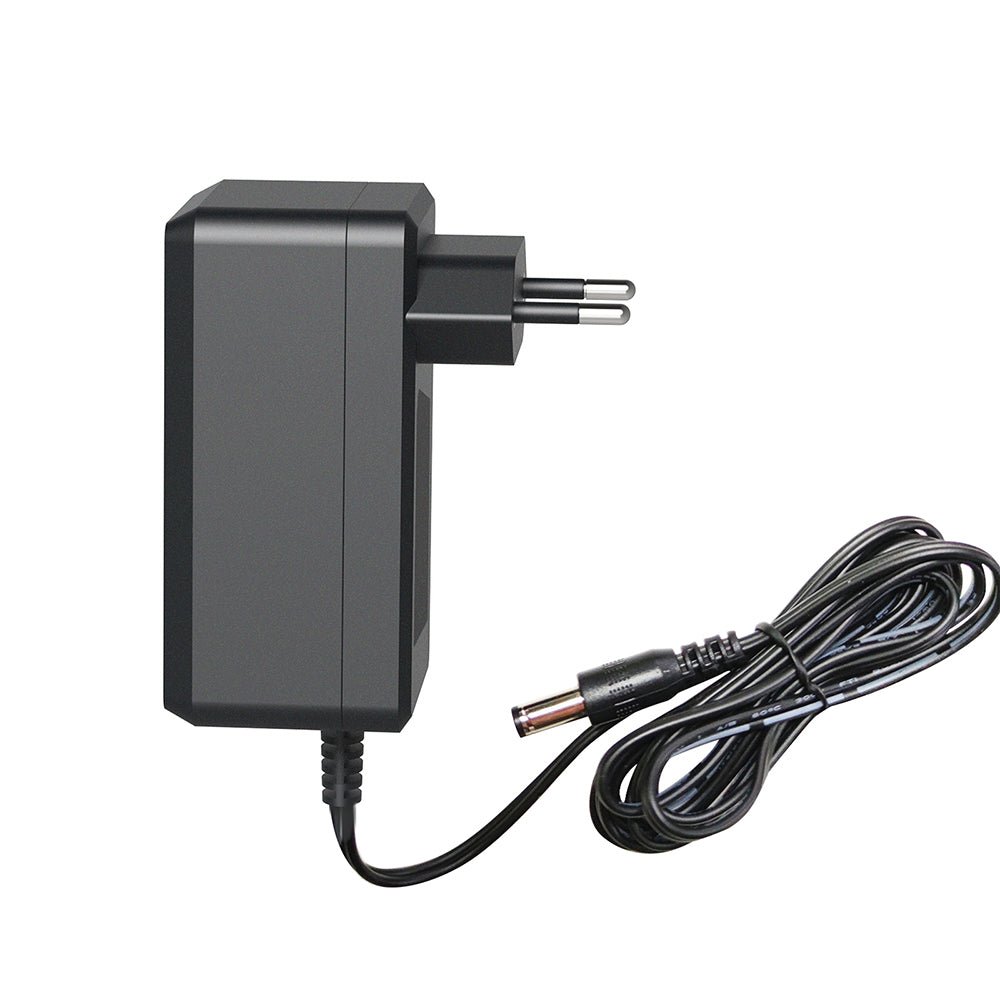
Ensure your vacuum cleaner is fully charged before use. Confirm that you are using the original adapter for charging. Verify that the battery is correctly installed. Thoroughly clean any blockages in the brush suction inlet, extension tube, dust cup, HEPA filter, and metal filter. For further assistance, please contact our after-sales team at official@ibuture.com.
If you have the following situations, the vacuum cleaner will fail to turn on.
1) Using the vacuum cleaner in the case of plugging in the adapter;
2) Using the vacuum cleaner with the battery pack removed by mistake;
3) The On/Off button of the handle has a damage;
4) The main body or the battery has failures.
Ensure the battery is installed correctly. Verify that the battery power is within the normal range. Clean the dust cup and all filters, if necessary.
Please observe whether there is the obvious gap between the handle and the dust cup, if yes, it means that the handle is not installed correctly. Just need to re-install it, locking the lower snap first, and then locking the upper snap.
Please check the contact piece and contact seat of the main body, handle and battery, if there is obvious deformation or loosening, you need to replace the parts accordingly.
When "E2" appears, there might be two reasons. The first one is that you are using a non-original adapter for charging. The other one is battery damage. If you confirm it is the original adapter, try to replace a new battery.
When "E3" appears, it probably means that the battery cell pressure difference in the battery pack is too large to work normally, leading to the need to replace the battery.
When "E5" appears, it probably means the failure of main body, which needs replacement.
Ensure you are using the original adapter to charge (the initial charger cables coming with the hoover). If you are indeed using the original one, try different power sockets. Make sure that the charger, battery, and power socket are in good contact. Make sure the charging contact is free of foreign matter or dust. If still doesn’t work, a new battery might be needed.
Check that if the HEPA filter is installed correctly. Clean both the HEPA filters and metal filters. If the HEPA filter is damaged,replace a new one. Make sure all rubbish is collected in the dust cup before turning off the vacuum cleaner.
Reasons:
1) The hoover is leaking. The possible leakage points include the floor brush head, the dust cup bottom cover, the telescopic tube and the floor brush interface and the telescopic tube and the dust cup interface.
2) The hoover is clogged. The possible clogging points include the brush channel, the telescopic tube channel, the dust cup dust inlet, the metal filter and the filter hippo.
Solutions:
Observe whether the bent hose of the floor brush is broken, if so, replace the floor brush;
Observe whether there is a big gap between the brush and the telescopic tube, and whether there is a big gap between the telescopic tube and the main body, if so, it is necessary to re-install;
Observe whether the dust cup bottom cover is broken or whether the seal ring is not in position, if so, it is necessary to replace the dust cup.
Overheating might be caused by blockages or a full dustbin. Here’s how to solve it.
1) Make sure the air vents aren’t blocked and the filter is clean.
2) Empty the dustbin if it's full and clear out any dust.
3) Check the brush head and other parts to ensure nothing is stuck.
The reasons why the floor brush doesn't work may be the following situations.
1) Contact fault in the floor brush;
2) Contact fault in the conductive tube;
3) Fault of the dust cup;
4) Battery pack failure.
Follow these steps to find out the real causes.
Step 1. Remove the telescopic tube, directly connect the floor brush to run on the host, to see if there is still anomaly. If there is no anomaly, then you need to replace the tube, such as anomalies need to be carried out in the next step;
Step 2. Further confirm the main body, contact slug of dust cup and contact patch, whether there is subsidence, deformation or dirty. If yes, you need to clean up or directly replace the parts;
Step 3. After the above two points are confirmed and excluded, you need to replace a new floor brush. If a new one still doesn't work, the main body or battery need to be further replaced.
Please note that the running time will varied depending on the modes you choose. The battery power will consume faster if you are applying the max mode all the time.
Insufficient running time may result from insufficient charging time, battery aging, or blocked filters. To solve this issue, please recharge the battery fully, empty the dust cup and clean the filters. For simple cleaning tasks, use the lower or medium mode to extend battery life. Replace a new battery if necessary.
Weak suction power might be due to a full dust cup, blockages or dirty filters.
Clean the dust cup, metal filter, and HEPA filter. If needed, replace the HEPA filter. Also, check the battery charge and ensure all attachments are properly installed and clean. Check the hose and airways for blockages and clear them. Make sure the dust cup is emptied regularly for the best suction.
The noise or clunk noise may be from the floor brush. Here are two possible reasons.
1) The floor brush may have debris stuck in it, cleaning the floor brush thoroughly.
2) The roller brush inside the floor brush or other parts may be deformed and need to be replaced.
This depends on the running time in some extend. It's normal for the vacuum cleaner to drain power rapidly at the max suction modes.
For long-term use with slight draining, it is normal for the battery to decay.
For short-term use with extremely rapid draining, it is probably the battery damage. Need to get a replacement.
Yes, the crevice brush and 2-in-1 brush included in the pack make the JR600 vacuum ideal for cleaning car interiors.
The JR600 vacuum cleaner does not support self-standing, but it can be securely stored by using the provided wall mount.
Check if the adapter is original and try charging in different power sockets. If the problem still exhibits after finishing the above checking, please contact the customer service to arrange for a battery pack replacement.
The JR500 does not specialize in cleaning liquid spills so we recommend it be used on dry surfaces.
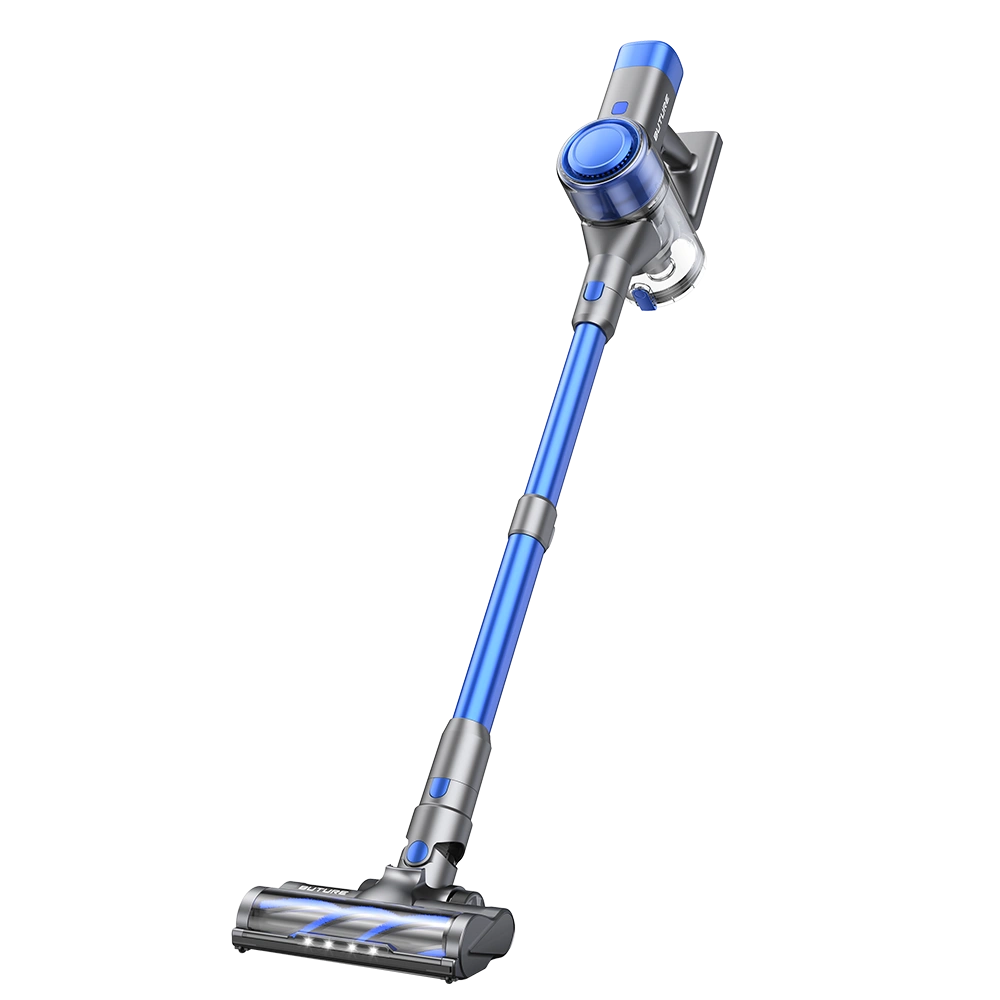
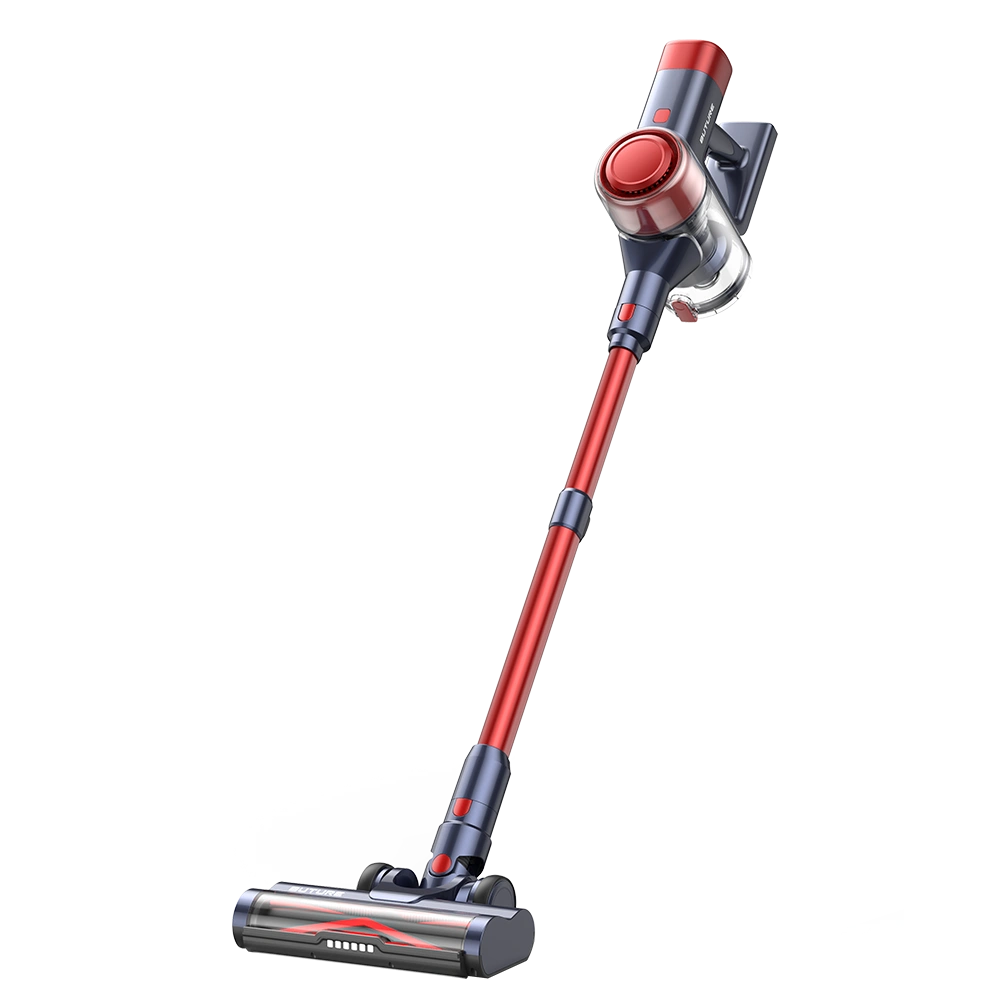
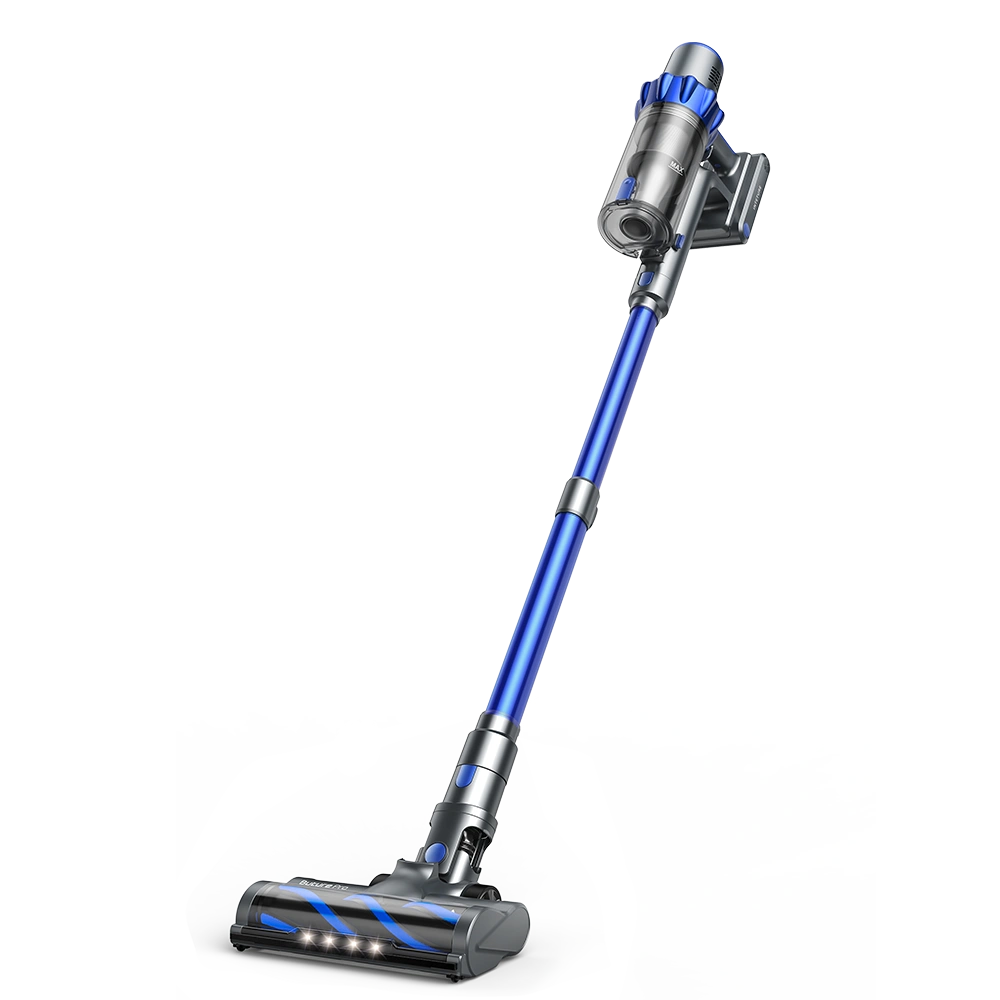
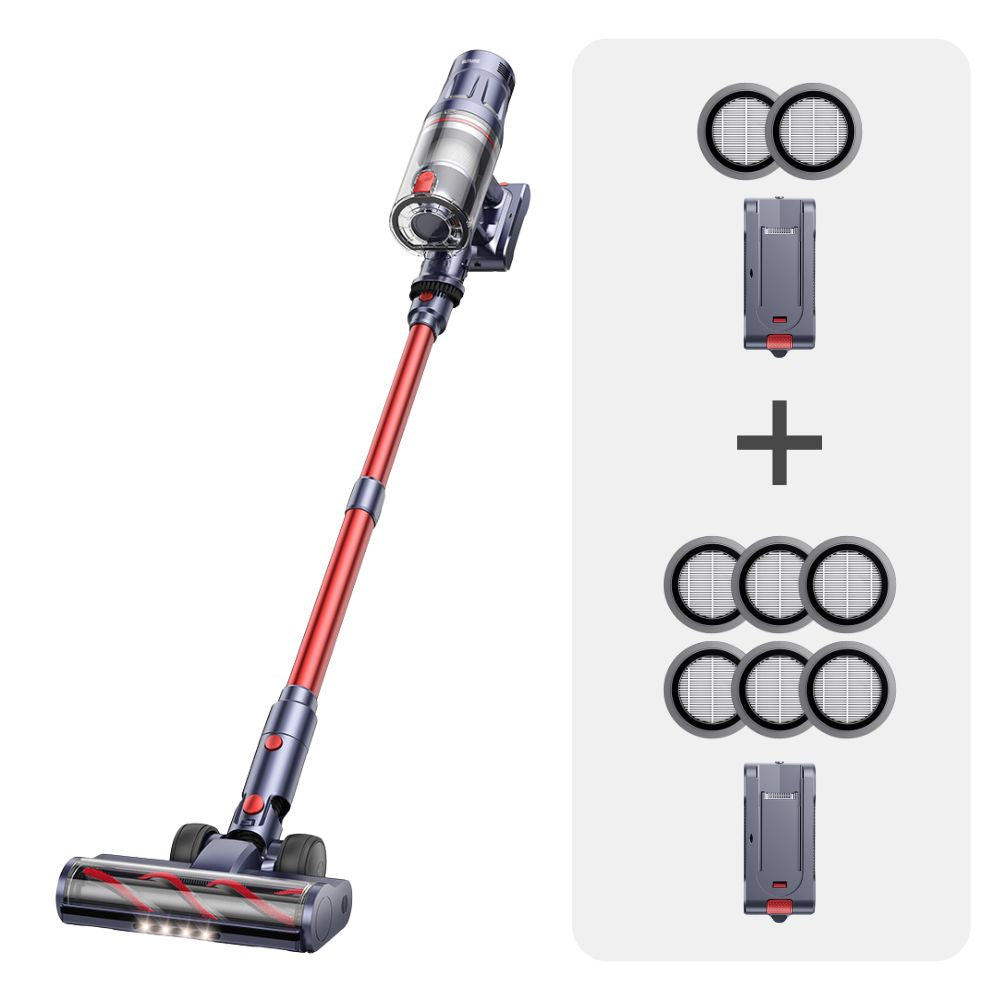
The JR700 Blue supports wall charging but the JR700 Red does not. Accessories including main body, battery, and wall mount of these two models are not exchangeable. The rest parts are universal to use. Please note that the telescopic tube also has two colors.
The JR400 features an LED indicator that shows the battery level, so you' ll know when it’s time to recharge.
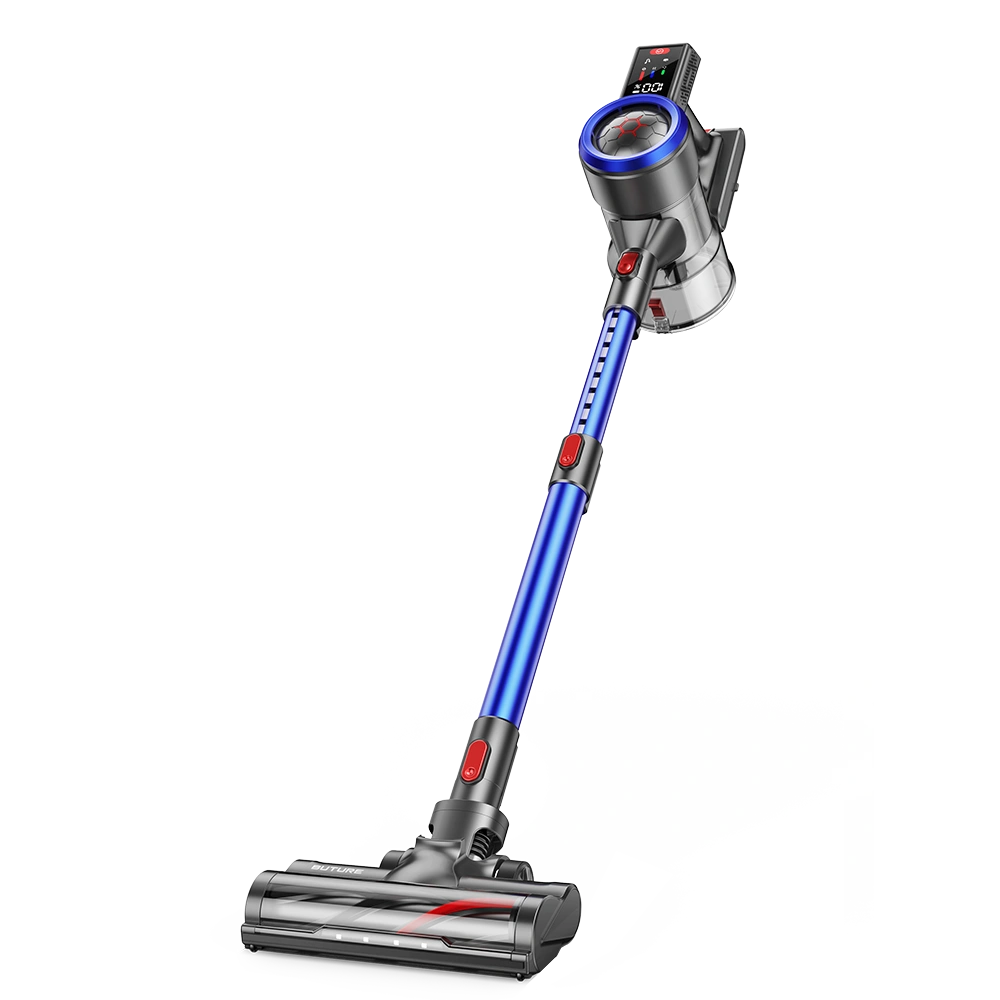
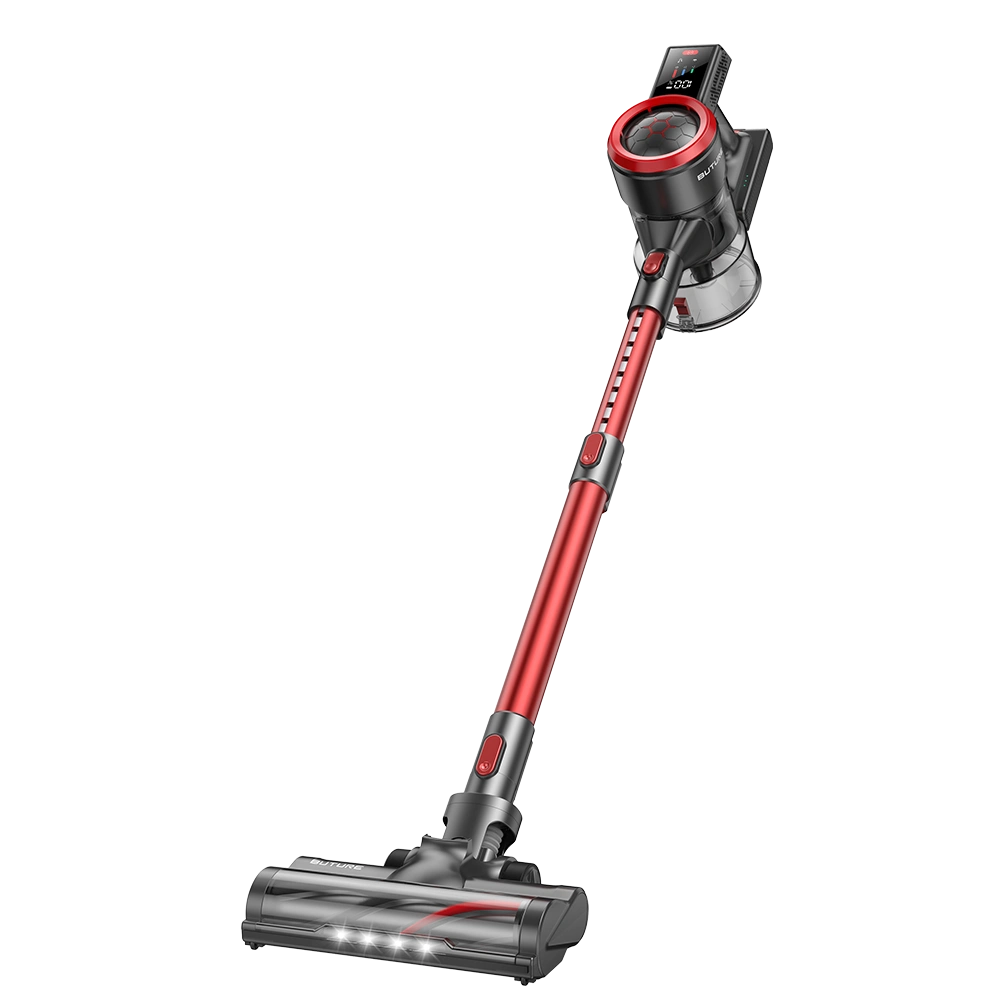
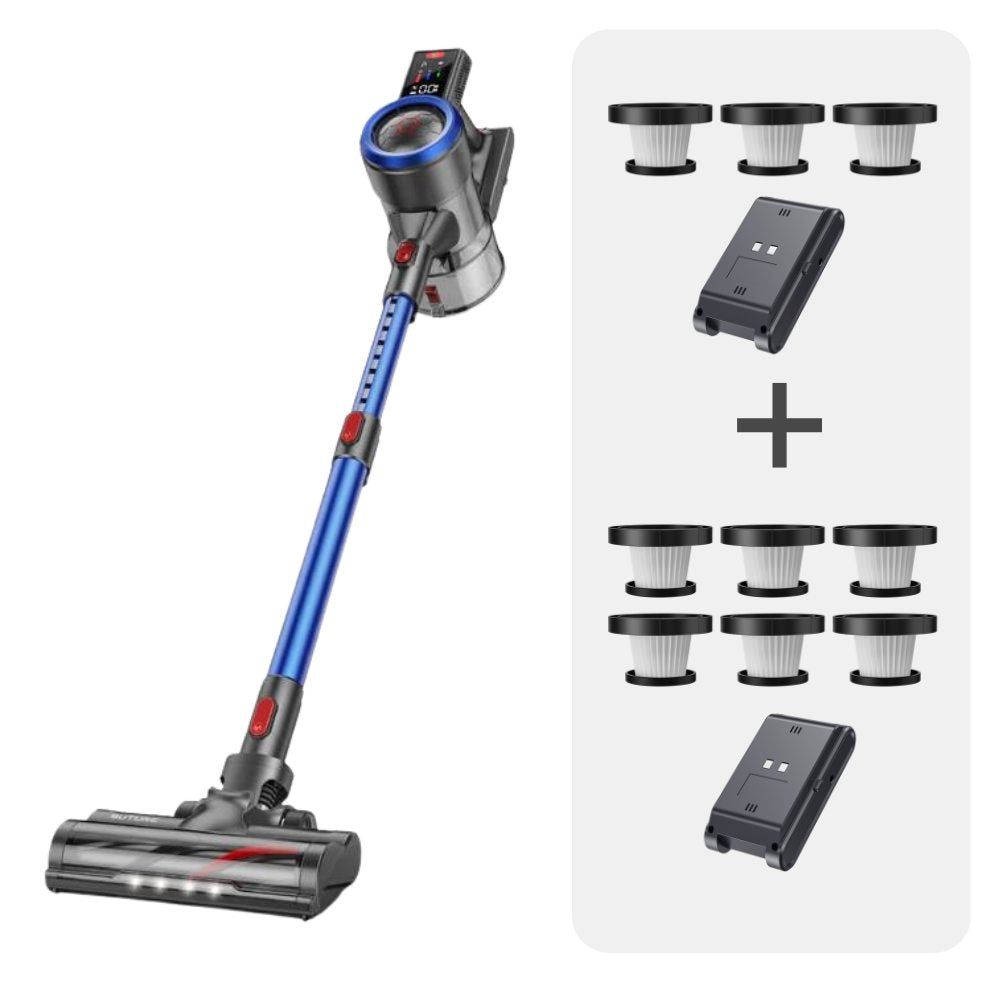
Both the VC50 Blue and VC50 Red have the same features, specifications, and performance. The difference is purely aesthetic, allowing customers to choose their preferred color. Besides, all of their accessories are exchangeable, just the different colors. Only the adapter and HEPA filters have the same color.
Yes, the VC80 have a self-standing design, and it can be securely stored using the provided wall mount.
Please note that it is a normal situation rather than quality issue. This is the unique design of the VC80 hoover. In order to enhance the effect of the upright, the floor brush of VC80 will sometimes not stay on the floor when using, but this won't affect its cleaning function.
It may trigger short circuit or blockage protection, which will directly trigger the shutdown protection if the blockage icon on the display lights up.
The VC60 is designed with overcharging protection, which ensures the battery' s longevity when being charged. Once it' s fully charged, it will enter a standby automatically.
The VC60 doesn't support clean liquid spills, and it's recommended used on dry surfaces.
Yes, the BP10 vacuum cleaner can be securely charged after storing at the wall mount.
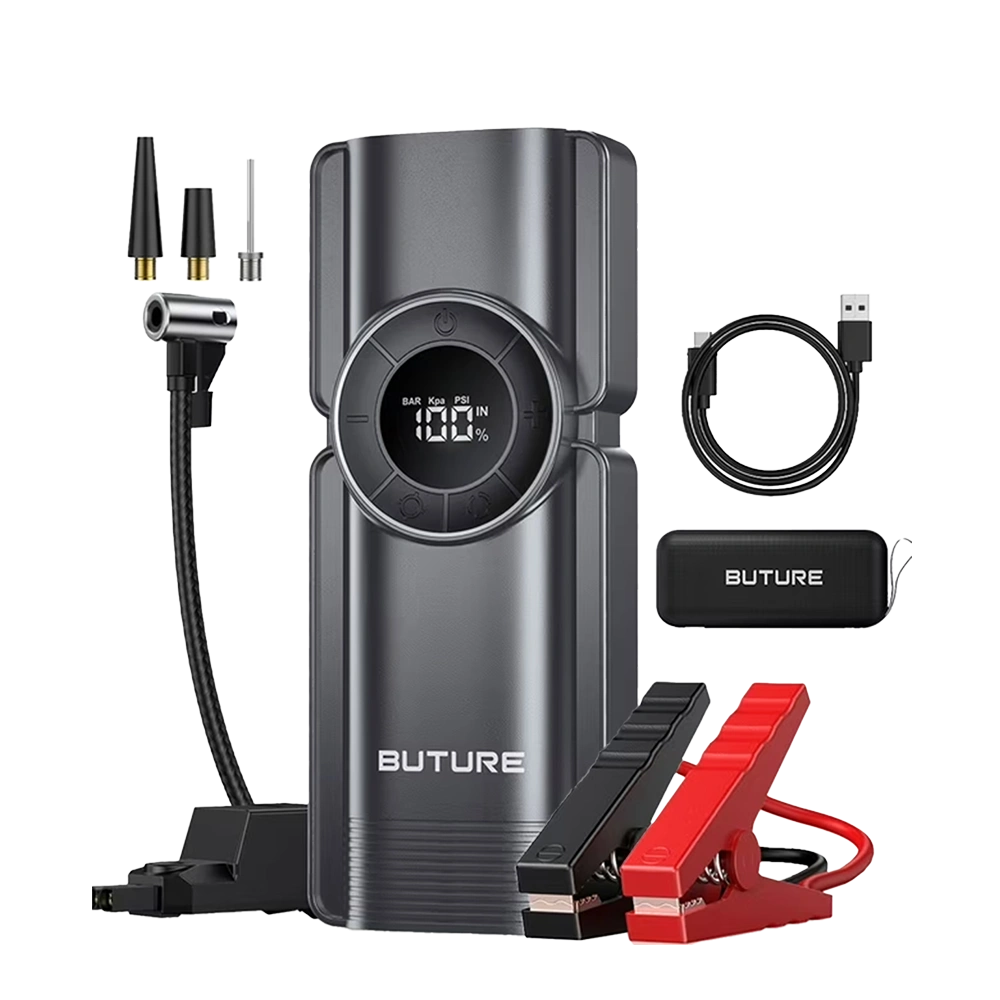
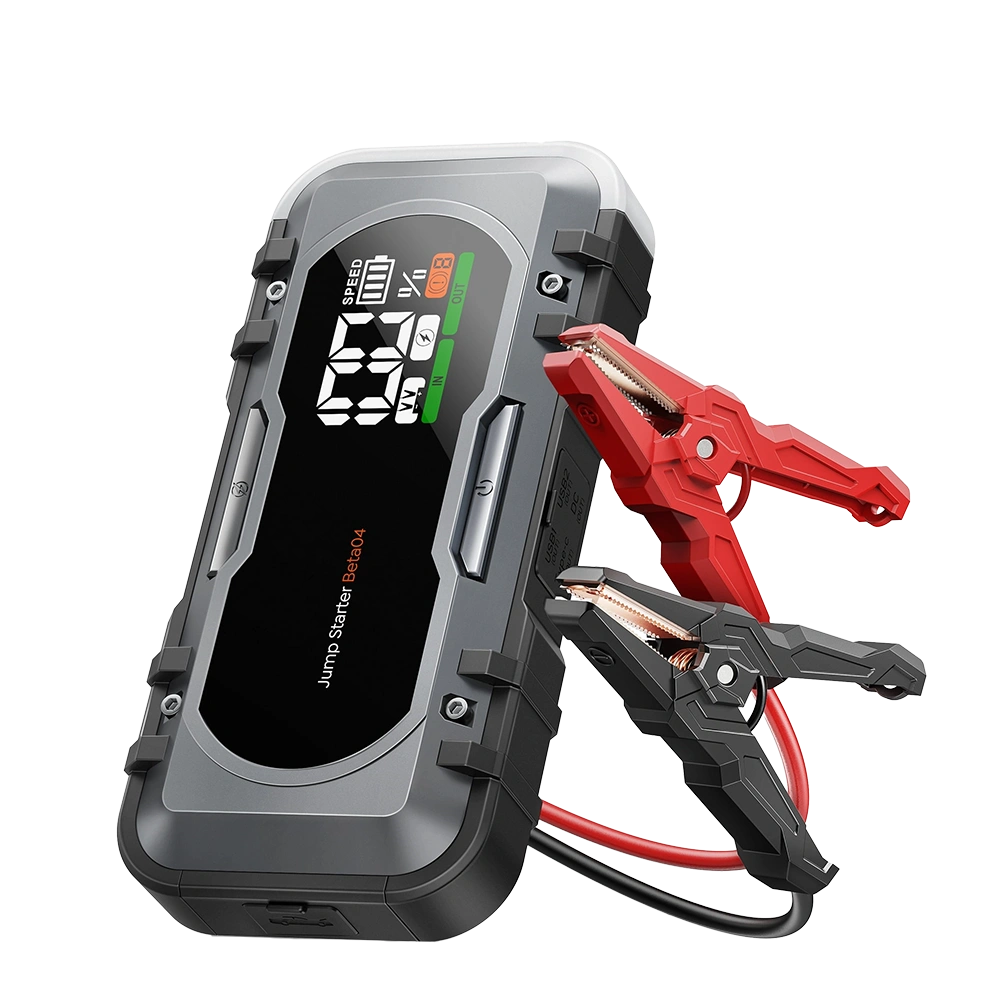
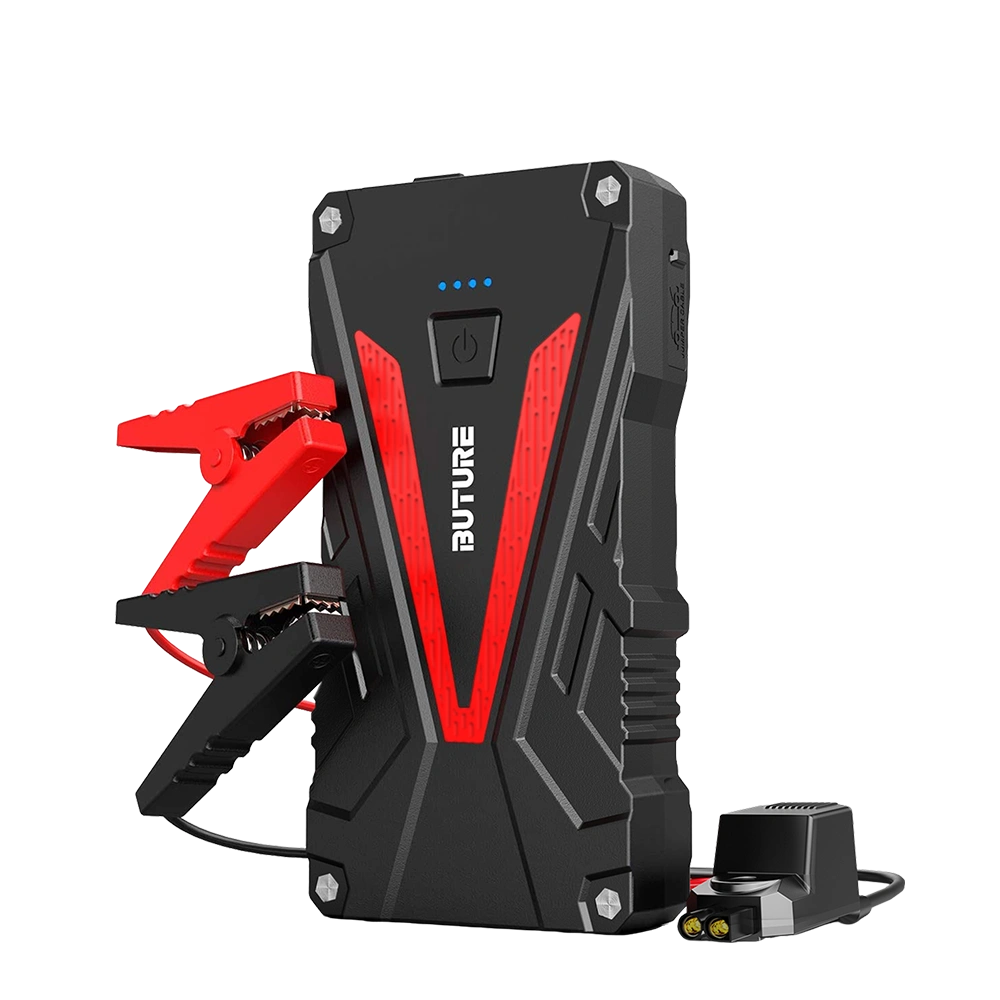
The built-in battery of car jump starter is a lithium battery.
With proper care, car jump starter can last for several years. Follow the manufacturer's maintenance guidelines to extend the lifespan of your device.
1) To start your vehicles.
2) To charge other electronic devices.
3) To inflate tyres of your car and other devices. (only certain models have)
4) To lighting and SOS first aid.
Before using, please ensure the device is fully charged.
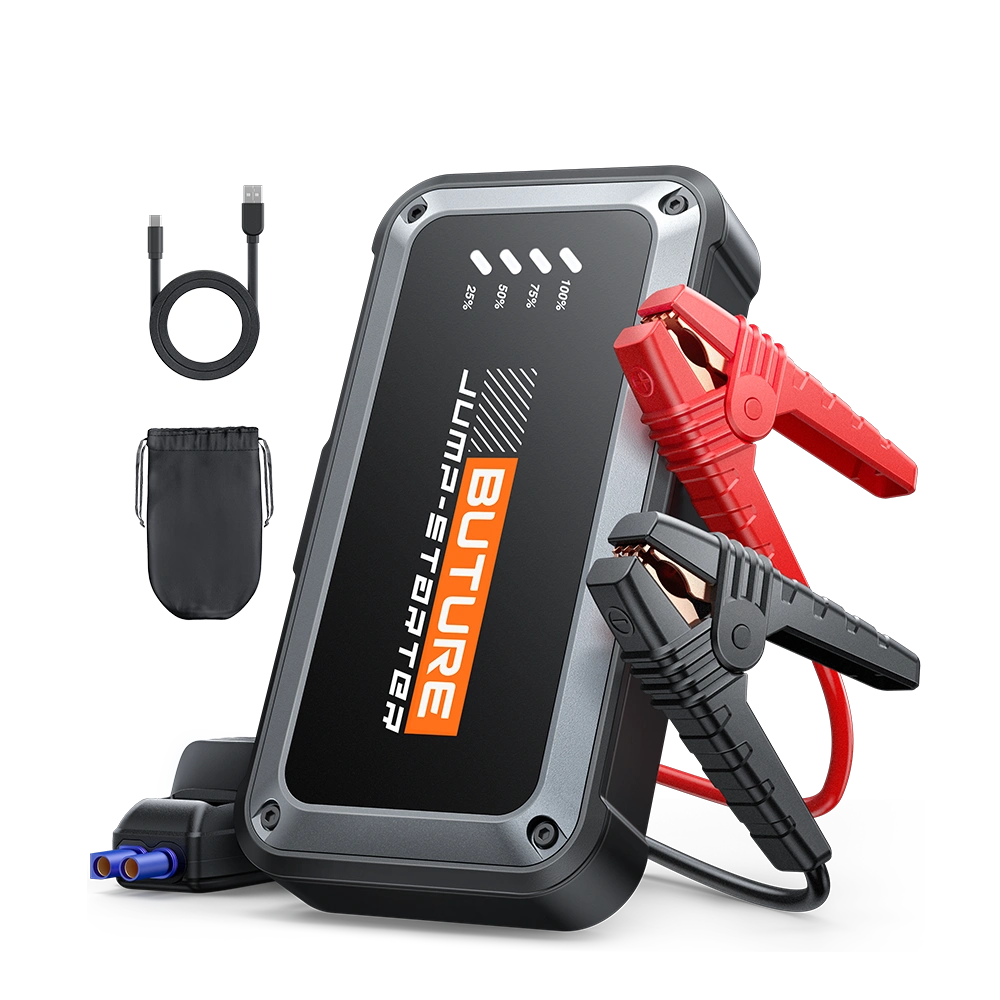
Step 1. Connect the red clamp to the positive (+) terminal of your car battery and the black clamp to the negative (-) terminal. At this time, the indicator light will becomes green. And you will hear the sound of "click" from the clamp.
Step 2. Turn on the jump starter and start your vehicle within 30 seconds.
Step 3. Remove the clamps in reverse order.
Step 4. Organize all the accessories back into the storage bag in their correct place to avoid pressing the switch button causing the LED lights or other functions to turn on, which may drain the product's power.
Normally, it is permitted to take on the plane because the total watt-hours of car jump starter is below 100WH. But different airlines have different standards, please refer to the specific regulations of the air company.
Yes, most car jump starters operate effectively in temperatures ranging from -4°F to 140°F.
Storing the car jump starter in a temperature-controlled environment is better for optimal battery health compared to storing it in the car trunk.
It is generally not safe to use car jump starter in the rain due to the risk of electric shock. Use the device in dry conditions and store it in a dry place.
The test we have done indicates that the product will not fail after 128 hours of continuous storage at 65°C.
The description in the instruction manual means that the product can not be placed in an environment that exceeds 60℃ all the time. However, the temperature inside the car will not exceed 60℃ all the time, so please feel free to place the product inside the car.
You can use any universal USB charger to recharge the unit, such as your phone or pad charger (5V2A above is suggested).
Please note that the product needs to be unplugged from the charger in time after it is fully charged. If you forget to unplug it and it has been continuously charged for more than 48 hours, please plug it back into the charger to charge for 20 minutes after unplugging.
It is recommended to recharge the jump starter every 3-4 months to maintain the efficiency and prolong the service life of the internal battery even if the unit has not been used.
The charging time varies from product model and battery capacity, typically taking 3 to 5 hours with a standard AC wall charger. Refer to your product manual for specific times.
Most car jump starters will show the charging status, with indicator lights (stop blinking when fully charged), or a display screen (indicate a full battery).
1) Try to use different adapters, charging cables, or power sokets.
2) Use the USB port of the computer to connect the charging cable.
Firstly, use the USB port cable to charge the mobile phone or turn on the LED light to keep it on long until the power of car jump starter is exhausted.
Second, charge the car jump starter once again, it will automatically calibrate the power display when the power is zero.
This is probably caused from a faulty switch button or a faulty mainboard of the unit.
Follow the instructions below to do further troubleshooting.
Charge your mobile phone through the USB port cable and observe if the product's battery indicator lights up automatically.
If it will light up, it means that only the switch button of the product is broken.
If the light will not come on, it means that the internal mainrboard of the product is damaged.
First of all, make sure that you have followed the correct steps and instructions in the user manual.
If you do so, make the following observations first:
1) Try to see if there is any change in the product power level after starting and before starting.
2) Try to see if the cable of the smart clip is hot after starting.
If the indicator light is still flashing red and green after the smart clip is connected to the car. Then follow the steps below for further troubleshooting.
1) Close the doors and windows of the vehicle, confirm that the vehicle key is in the ACC position, open the windows and interior lights, at this time to start the power supply into the car battery, to confirm that the smart clip will change to a green light is always on.
2) If there is no change in the indicator, it is recommended to remove one of the positive or negative terminals of the cable on the vehicle battery, and then plug the clip directly into the car cable to start, thus eliminating the influence of the car battery on the starting power supply. After the car is started, just put the cable back on.
Operation precautions:
a. After removing the cables from the car battery, use an insulating item (such as cardboard) to separate the cables from the battery.
b. When the smart clip is connected to the starting power only, the indicator light is flashing red and green.
c. After connecting the car cables, the indicator light of the smart clip becomes green and you can hear the ‘click’ sound, then you can ignite the car.
If the clamps are sparking, disconnect them immediately.
Check the connections and ensure the clamps are attached to the correct battery terminals before attempting to use the jump starter again.
When the clamp alarms, follow the instructions below to do further troubleshooting.
1) Check whether the smart clip is connected to the reverse, red to the positive pole, black to the negative pole.
2) Check whether the location where the smart clip is clamped is on the same metal conductor, i.e. the clip is short-circuited.
3) If there is dirt in the corresponding place on the car cable that the clip is connected to, it needs to be cleaned.
4) Close the doors and windows of the vehicle, put the key in the ACC position, turn on the vehicle's turn signals or wipers, to avoid the vehicle's internal line resistance is too small, resulting in the product mistakenly detected a short circuit. At the same time, close the vehicle inside the other electrical switches (such as the display screen), and then the clip into the car battery to see if the alarm will still be.
If the above still can't solve the problem, you need to remove the positive or negative cable on the vehicle battery, and then connect the clamp directly to the car cable for starting, which can exclude the car battery on the starting power supply. Once the car is started, just put the cables back on.

